
Getting bottles for bottleling the homebrew will show up on each homebrewers agenda at some point. However, buying new and potentially cleaned bottles is very expensive. On the other hand: Emptying beer bottles yourself “for a higher cause” and cleaning them yourself is cheaper, more fun and – if done with the proper equipment – faster done than you think. Read how to build a beer bottle cleaner yourself in the following!
What we will build
We will build the whole thing entierly from copper / brass. This has three main advanteges. First: It’s easy to work with, cutting and connecting requires close to none tooling. Second once built, soldered copper is extremely tight / seal-proof. Third copper and brass have anti-bacterial effects, which is great if you deal with food products.
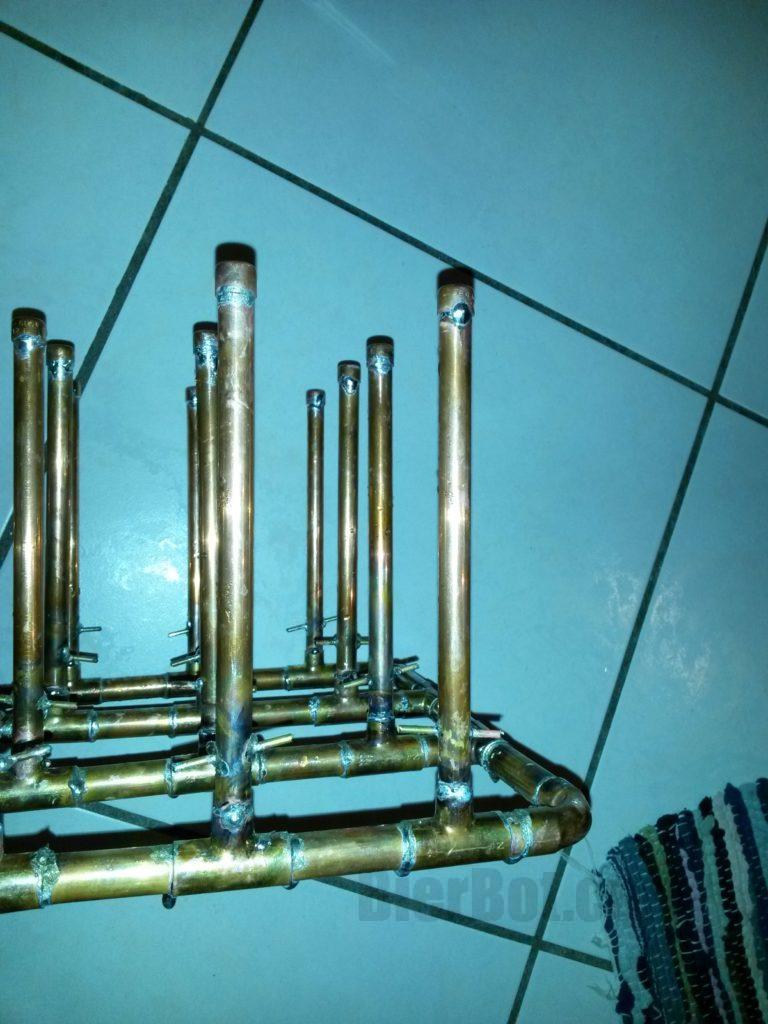
The idea is to have one connection to the dishwasher in the bottom-middle and 24 vertical elements to hold beer bottles. Note the small stop at the bottom of each vertical beer holder: This ensures that water can exit the bottle.
Planning your build
Before we actually create the shopping list an go shopping, we need to measure the dimensions of our dishwasher: In our case, that’s 530mm or 20.8″. Use this measurement for the calculator below (input the value in mm).
Inputs
Results
- 10x PartA = 0mm
- 4x PartB = 0mm
- 16x PartC = 0mm
- 10x PartD = 0mm
You might ask, what PartA-D stand for. This sketch should answer that:

Required parts for the beer bottle cleaner
The bottle cleaner will be entierely built using copper tubings. In specific:
- Copper tubing (To create the lower main frame), diameter 15mm / 0.6in. The length depends on your dishwasher width. Use our calculator below. The required length is equal to the sum of the calculator above.
- 24x 15-20cm pieces of copper tubing, diameter 12mm / 0.5in to create the vertical pieces which will reach into the bottles. These will be used for the vertical pieces. Feel free to adjust this, just make sure it fit’s into your dishwasher (the bottle on top included!).
- 4x L-Angle for the four outside edges.
- 24x T-Part to connect copper tubing 15mm at all three sides.
- 6x T-Part, with 15mm on two sides, and 12mm on one side.
- 24x 12mm copper tubing end cap, this will be used to create the nozzle spraying the bottles from the inside.
- Copper rod to build the bottle stoppers from. I’ve used 5mm / 0.2in diameter. Exakt size won’t really matter, just bear in mind that you need the matching drill bit.
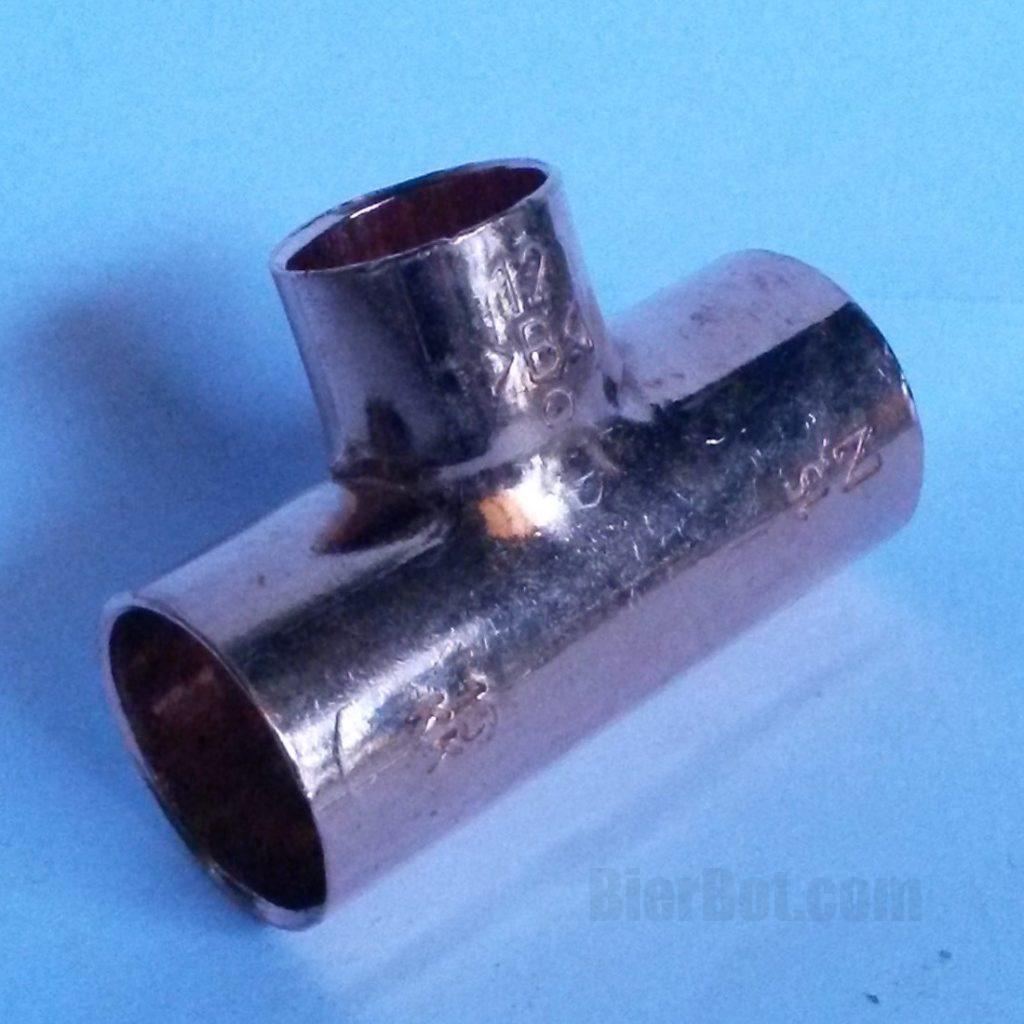
T-Part, 15x12x15mm / 0.6×0.5×0.6in 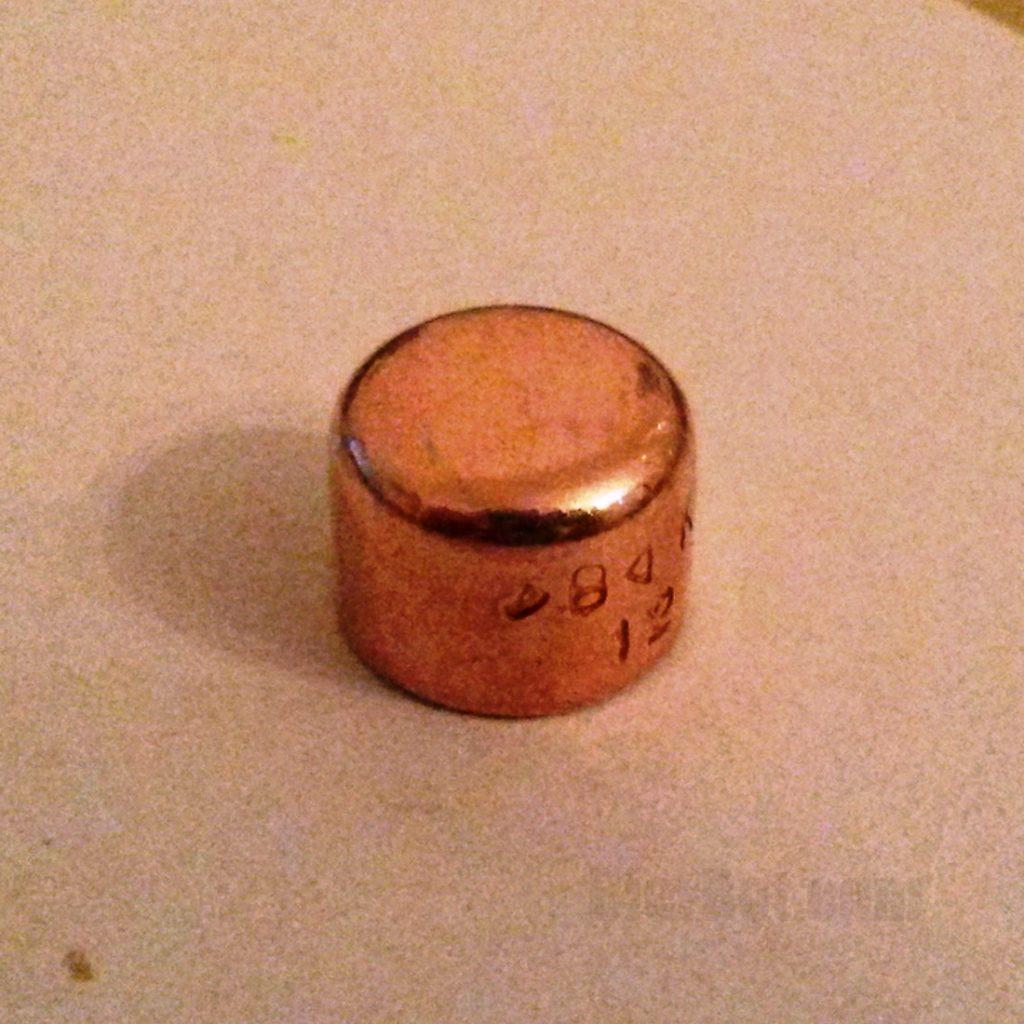
End cap, 12mm / 0.5in 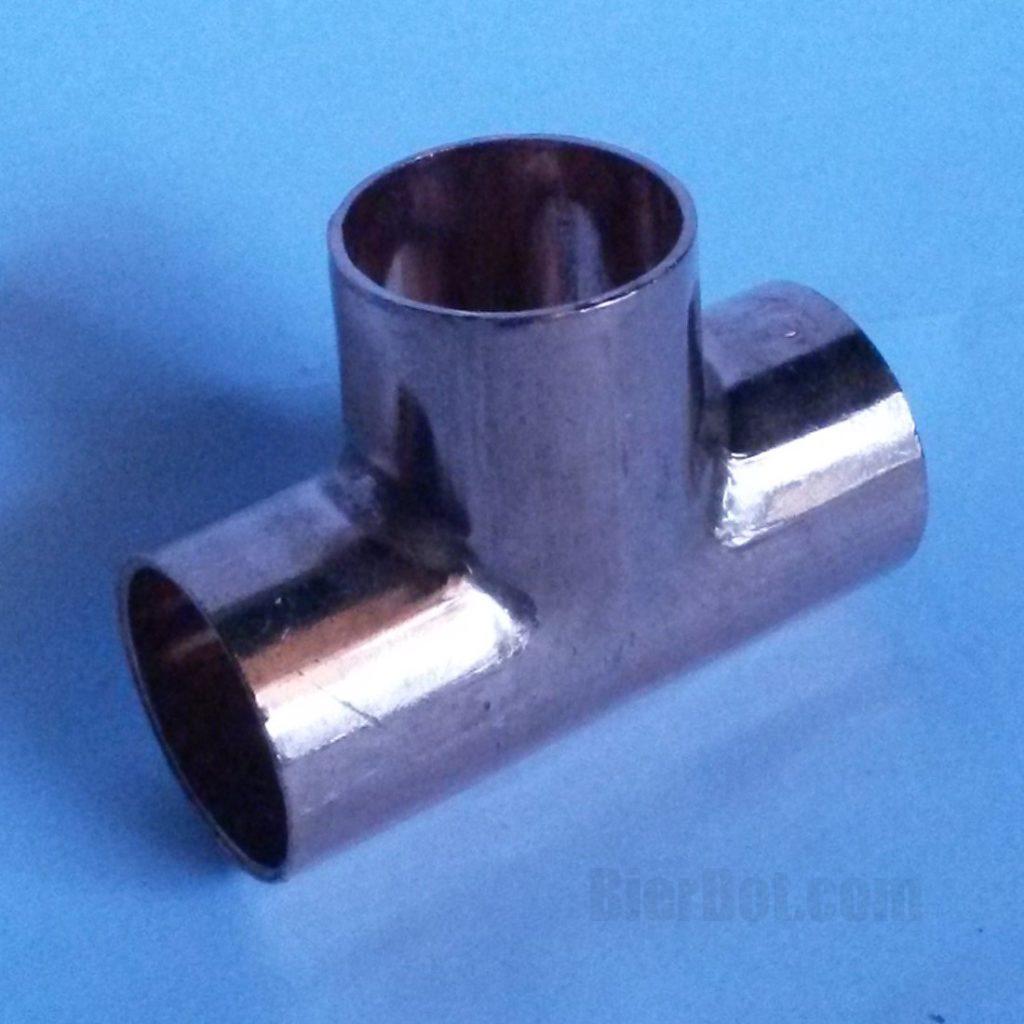
T-Part, 15x15x15mm / 0.6×0.6×0.6in 
L-Angle / 90 degree angle, 15mm / 0.6in
Required tools
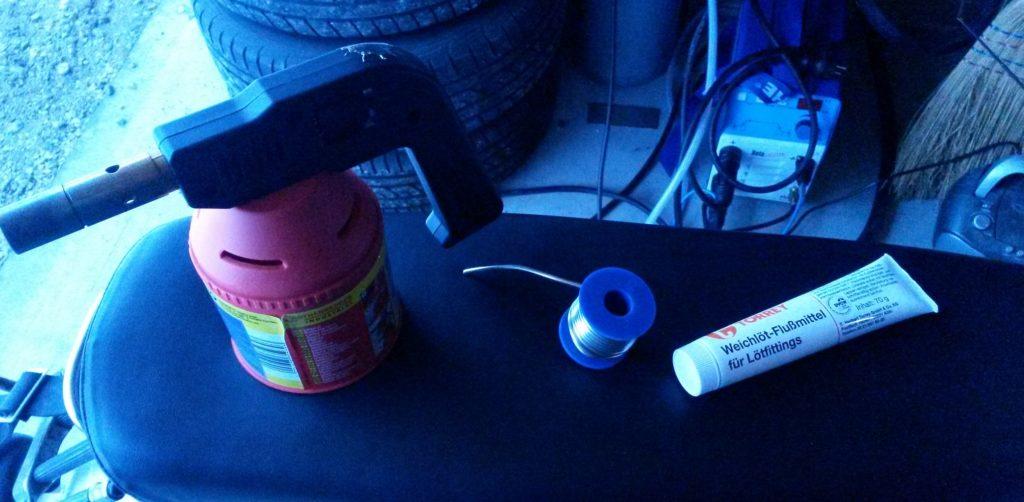
There are not much tools needed:
- Soldering torch. We’ve started with a “can powered” and upgraded to a “bottle powered” one – speeds things up a lot!
- Solder
- Flux
- 1x 0.8mm / 0.031in Drill bit for drilling the nozzles. Note the “1+” size you will most likely break at least one.
- 5mm / 0.2in drill bit for drilling the bottle stopper holes.
- Copper tubing cutter (rotate it around the tube, copper is so soft, that it will cut cleanly through it)
Beer bottle cleaner step by step
This section will guide you through the build process step by step.
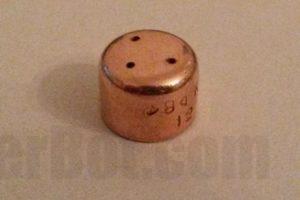
Step 1: Building the nozzles
We start with drilling three tiny (I’ve used 0.8mm / 0.03in) holes into the end caps. Don’t go way larger than that to avoid the water jet has no pressure. I did this using a Proxon / Dremel on a stand.
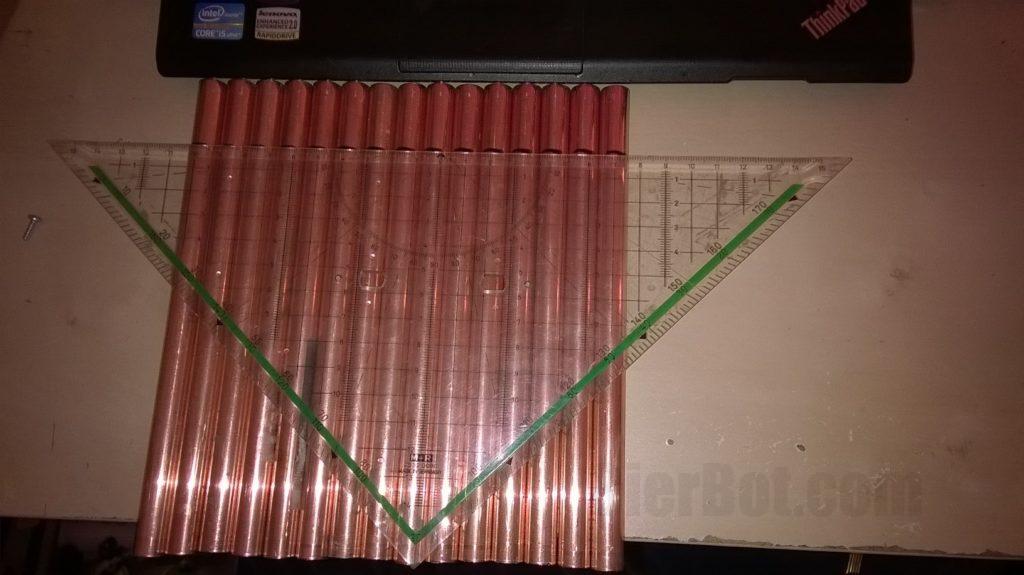
Step 2: Preparing the vertical elements
Cut the smaller (in diameter: 12mm / 0.5in) copper tube you’ve bought into 24, equally sized pieces. Then, align them using something straight (e.g. your notebook), get a ruler and mark them. I recommend to to that approximately 3cm / 1.2in away from the end of the tube.
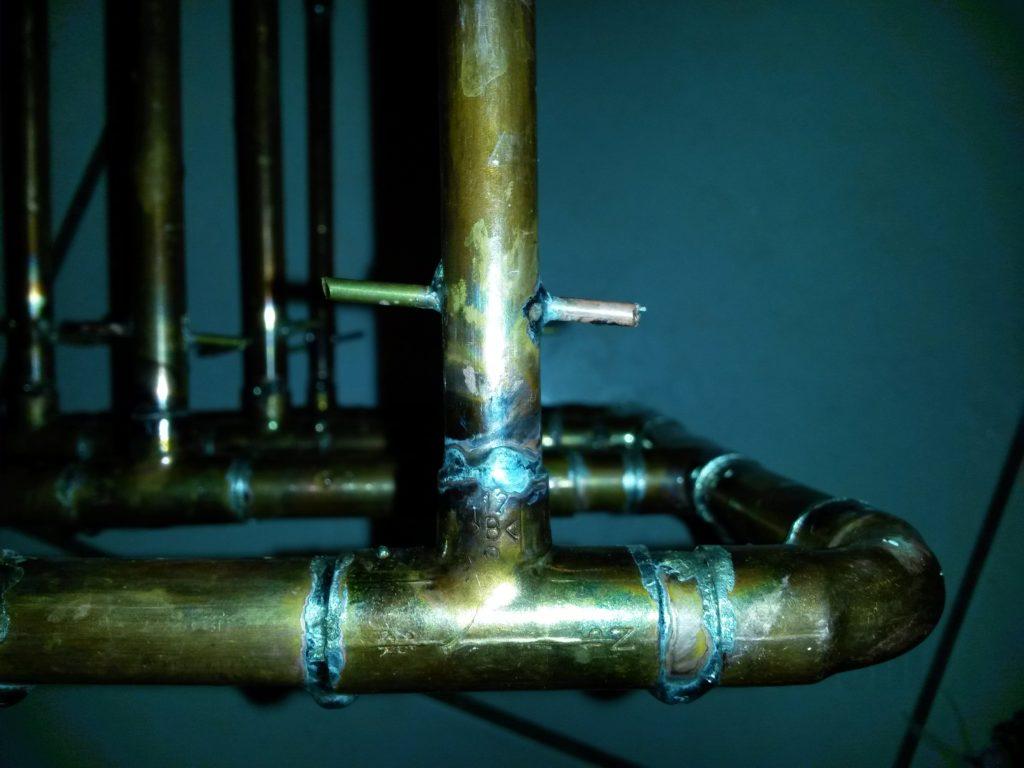
Next step: Get the 5mm / 0.2in drill bit and drill through all 24 pieces where you’ve put the mark. We’ve drilled through both walls of the tube (so literally through). Then
Now get all 24 vertical elements (12mm / 0.5in) and drill through. Then, cut the copper rod with a side cutter into pieces. We need – you guessed it – 24 pieces. Length should be at least 3cm / 1.2in. Insert the rod into the vertical tubes and solder them into place.
Marking where to put the hole for the bottle stopper. 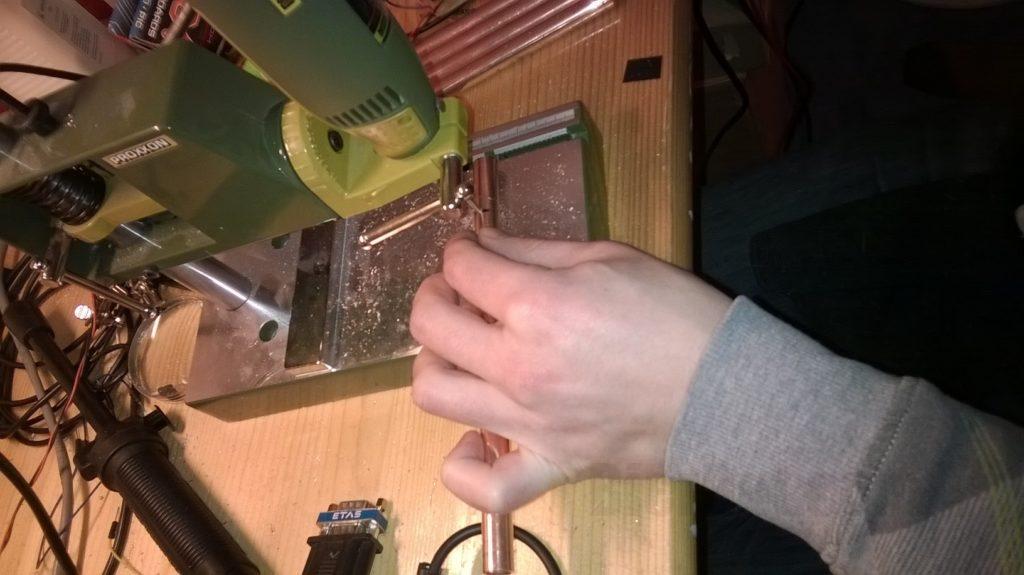
Drilling through the 24 pieces. 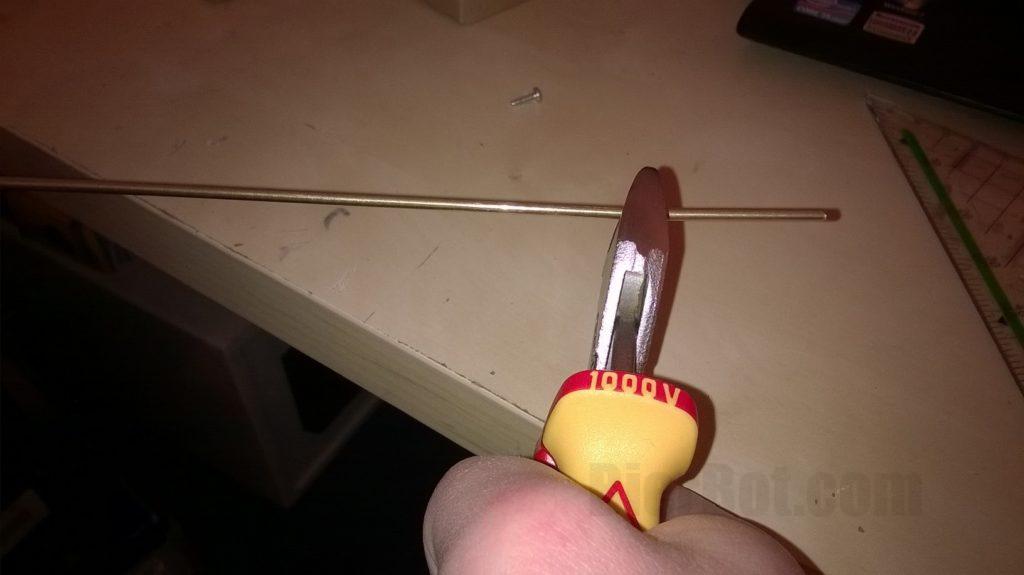
Cut the copper rod with a side cutter.
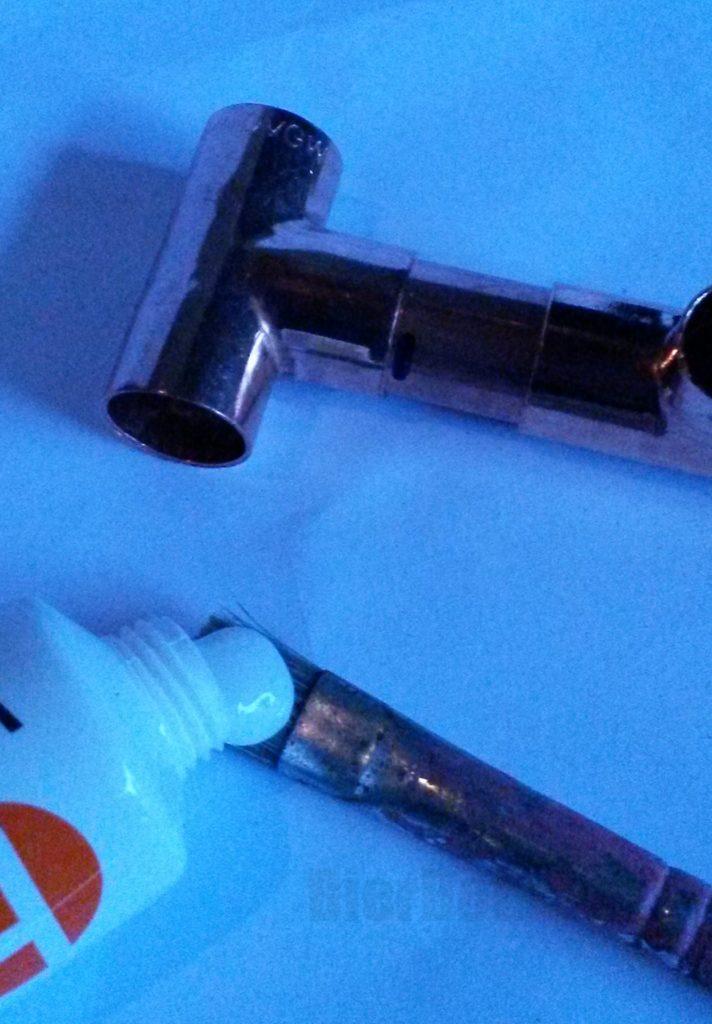
To give you an idea, how the bottle stopper will look in it’s final form, here is a picture:
Step 3: Prepare the main tubes
Now it’s time to cut all main tubes for lower / main part of our bottle cleaner to length. There’s not really much to say here – just cut PartsA-D in the required amounts as computed by the calculator above. Afterwards, put everything together. Do NOT solder anything (yet). Instead: Plug it loosely together and test it, if the structure fits as planned into your dishwasher.
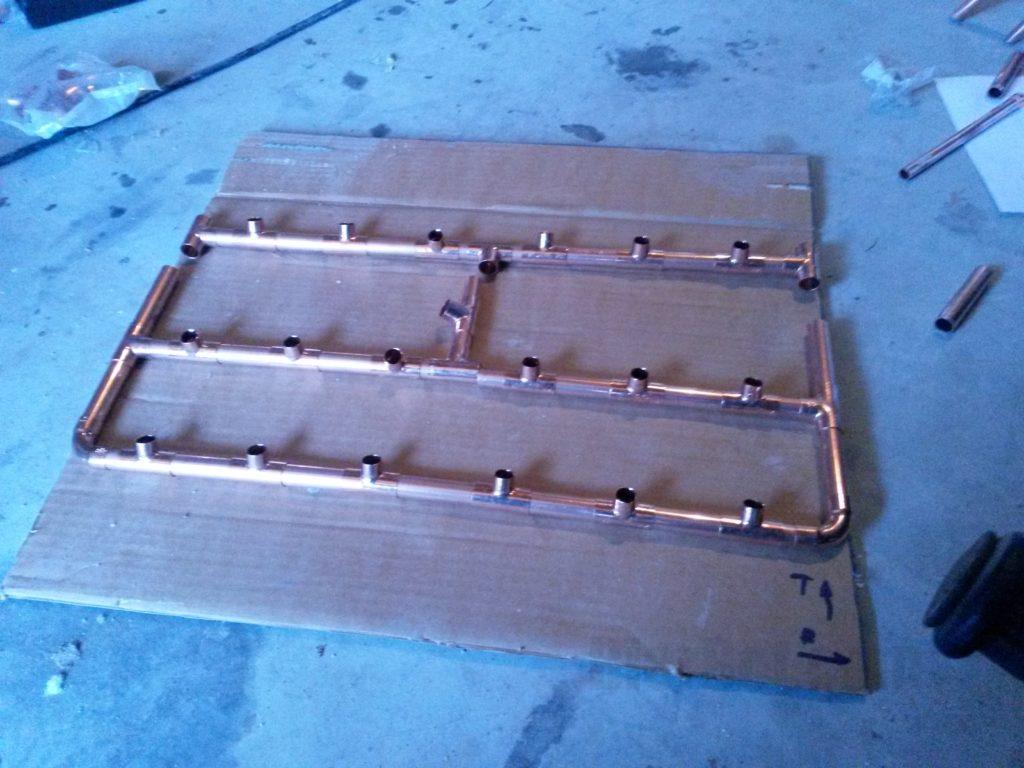
Not yet final result – getting there.
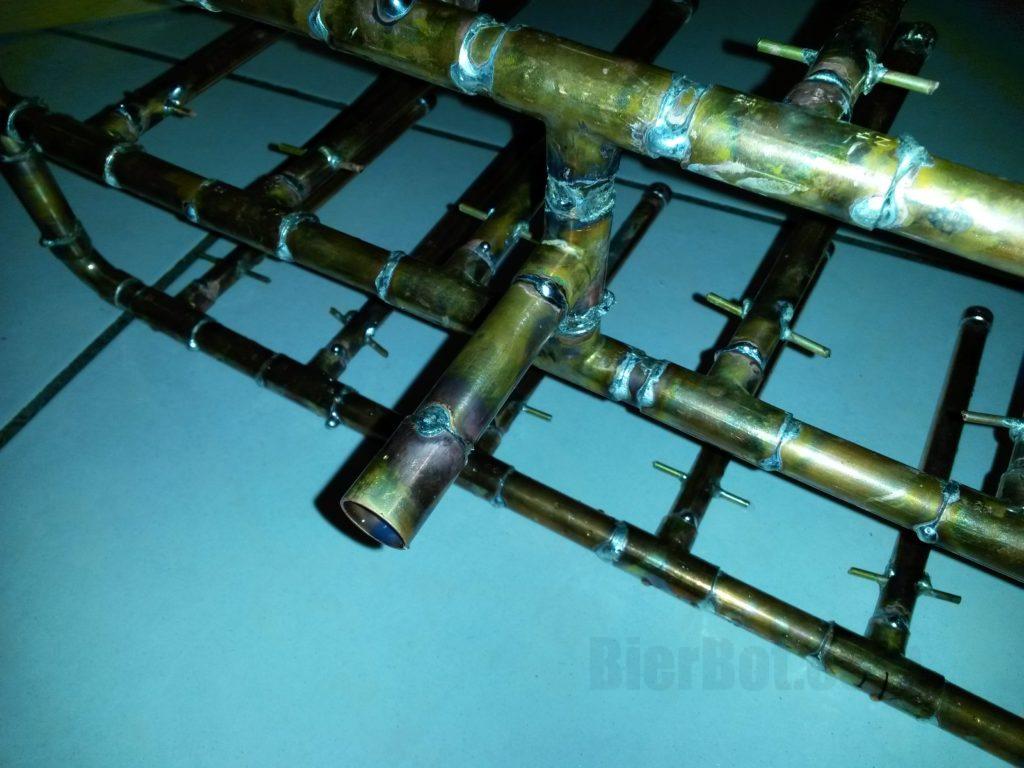
Step 4: Solder it
If the test was successfull, it’s now time to solder everything together. The following steps must be repeated for every connection:
- Use a steel sponge (or something similar) to brush of oxidations from the contact areas, this will increase the leak tightness and stability of the soldered seam.
- Use a brush (or something similar) to spread flux on the contact areas.
- Heat up the area close to the next seam.
- Focus the flame on the location where the seam is planned.
- Apply the solder.
Important soldering tip: Do not heat up the solder with the flame directly. Idea here is, that the copper is so hot, that if you touch the copper with the solder, the solder is melted by the heat of the copper (not by the heat of the flame). The flux and the capillary effect will take care, that the liquid solder is sucked into the gap between the two parts to be joined.
Apply flux onto the brush. 
Spread flux on contact area. 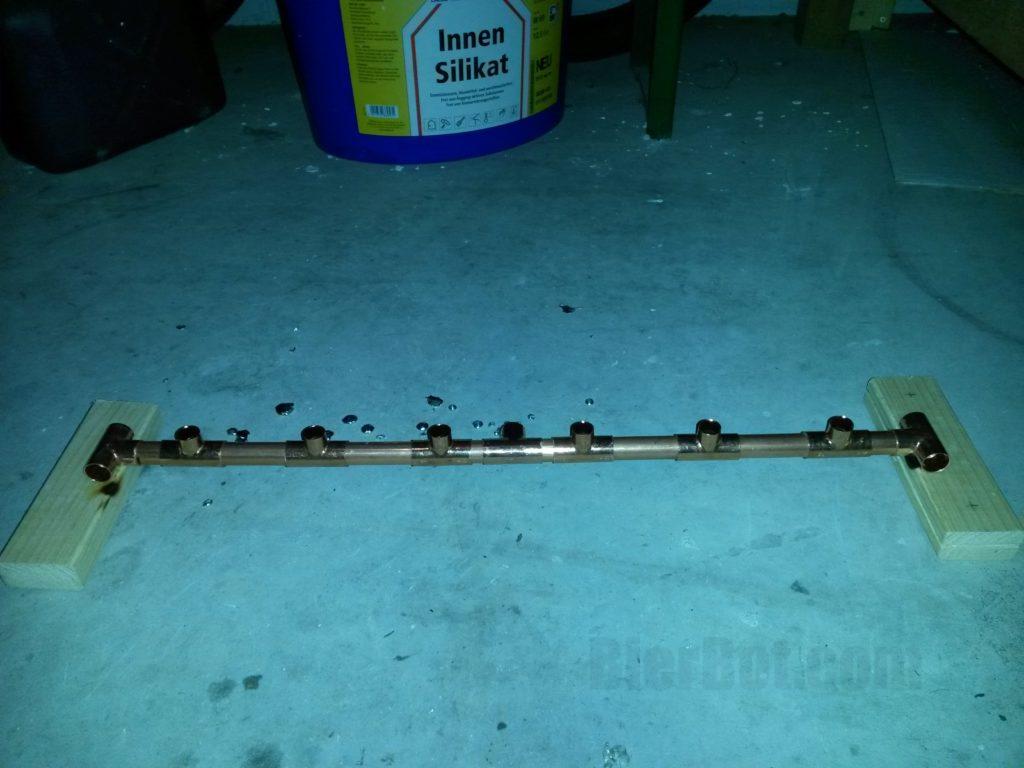
Put together, ready for the first bunch of soldering seams. 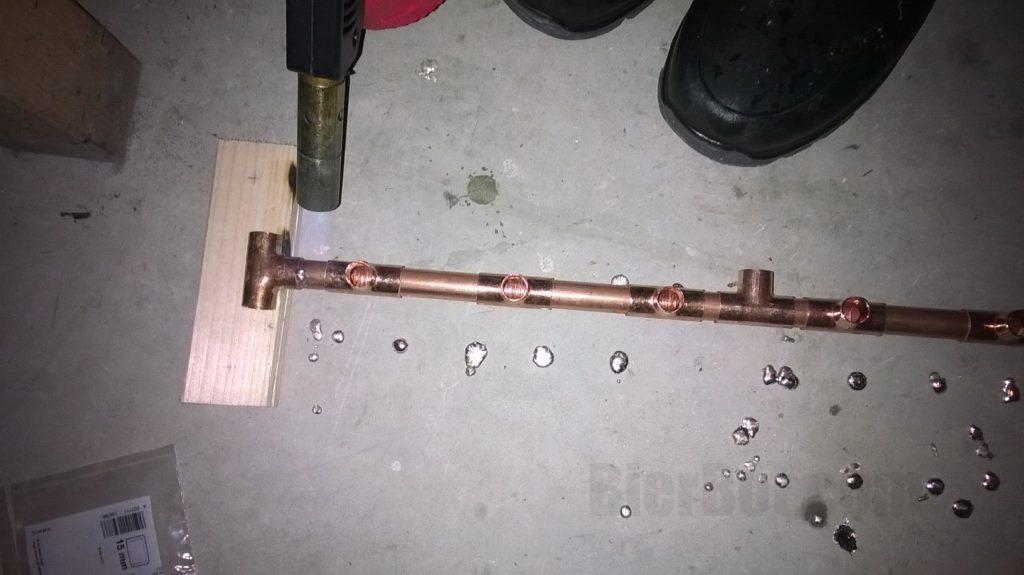
Soldering using a soldering torch. 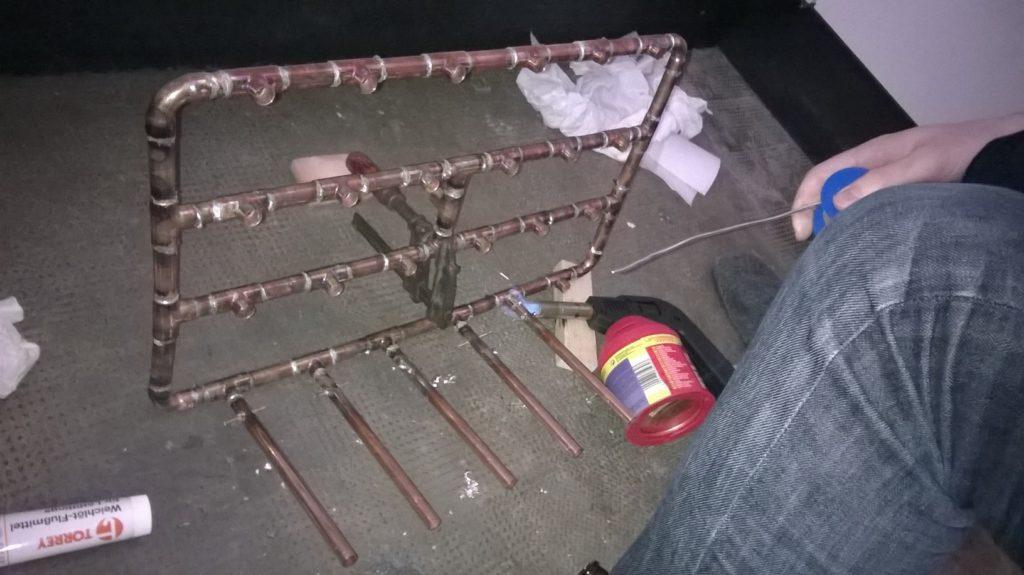
Soldering can be time consuming…
I recommend, soldering the lower part / the main frame first. After that is done, check one last time if everything is fitting as expected.
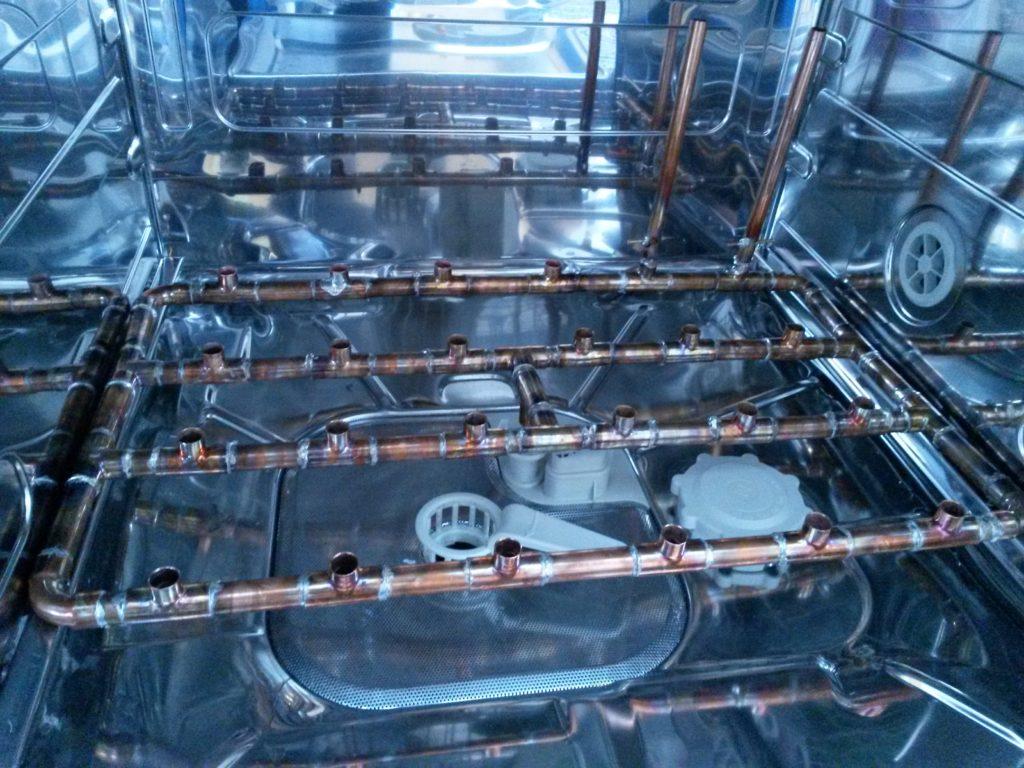
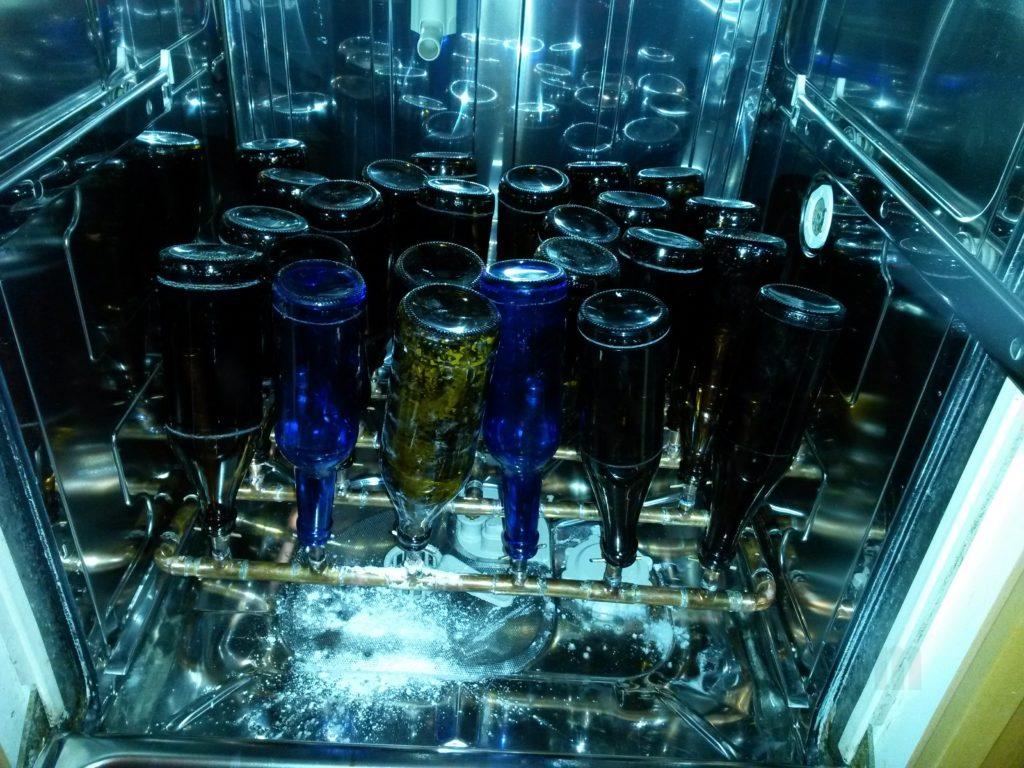
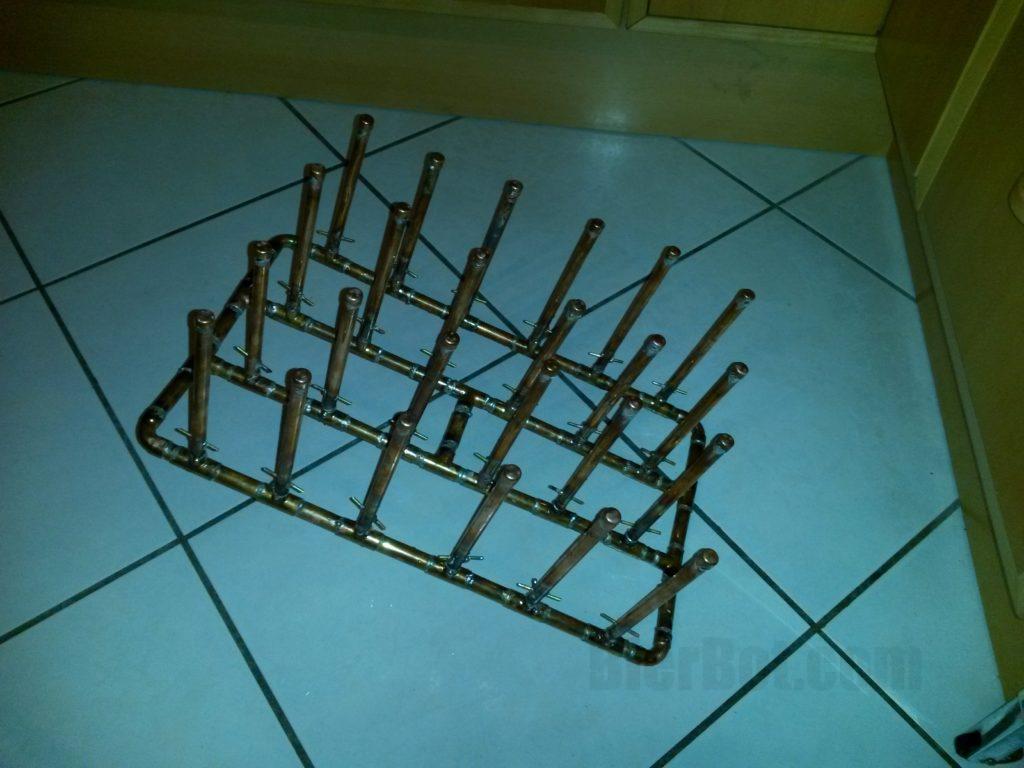
Final result
This is how the final might look like:


Testrun
First, we do a dry run without bottles to find out how well our nozzles are working. To get a visual on that, we need to trick the dishwasher to think it’s closed. Luckily, we are smarter than a dishwasher. Insert a spoon into the contact on the lid does the trick. See the image on right – beautiful water jets!
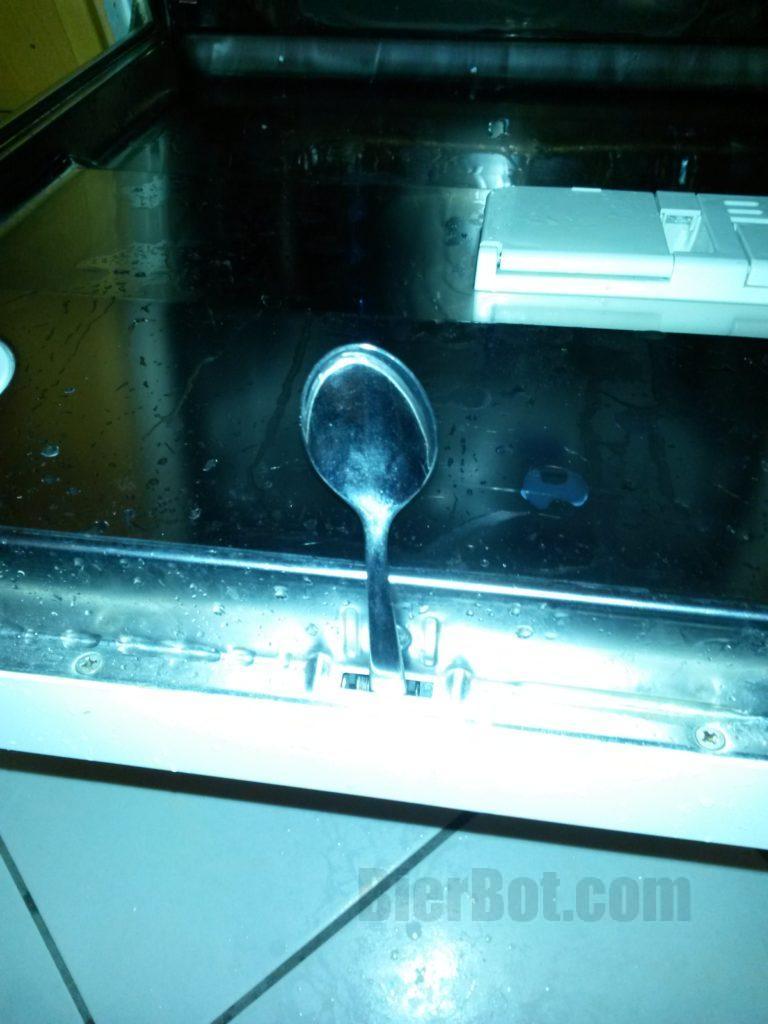
The worlds most versatile tool: The tablespoon. 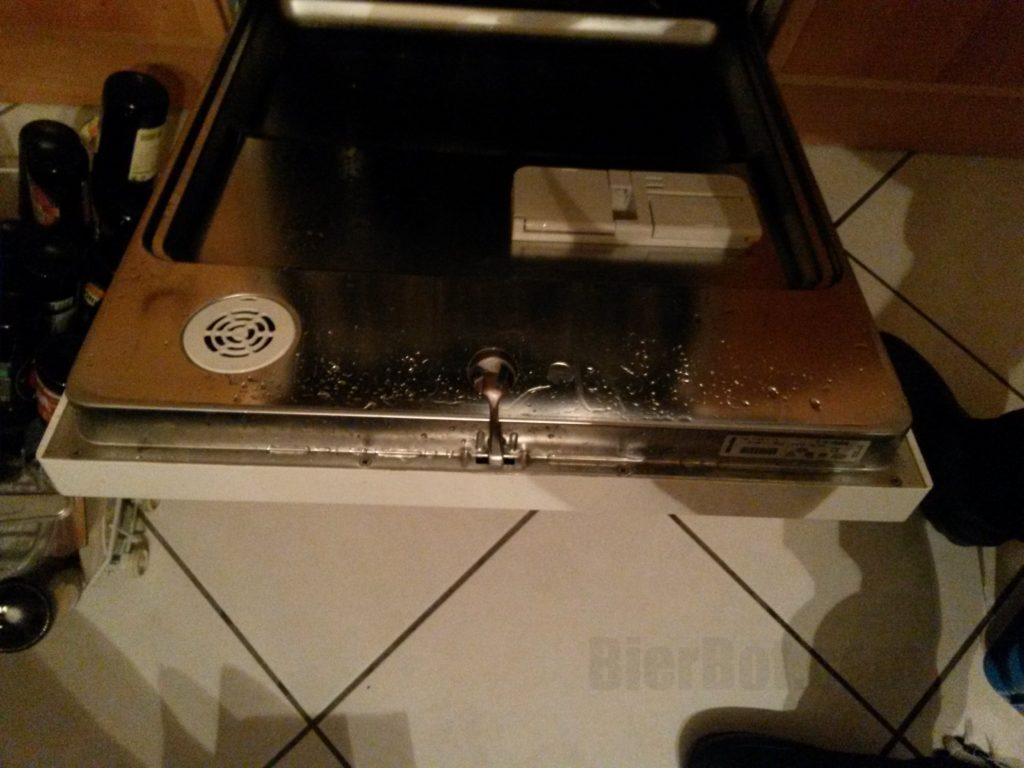
Trick to operate the dishwasher with an open lid. 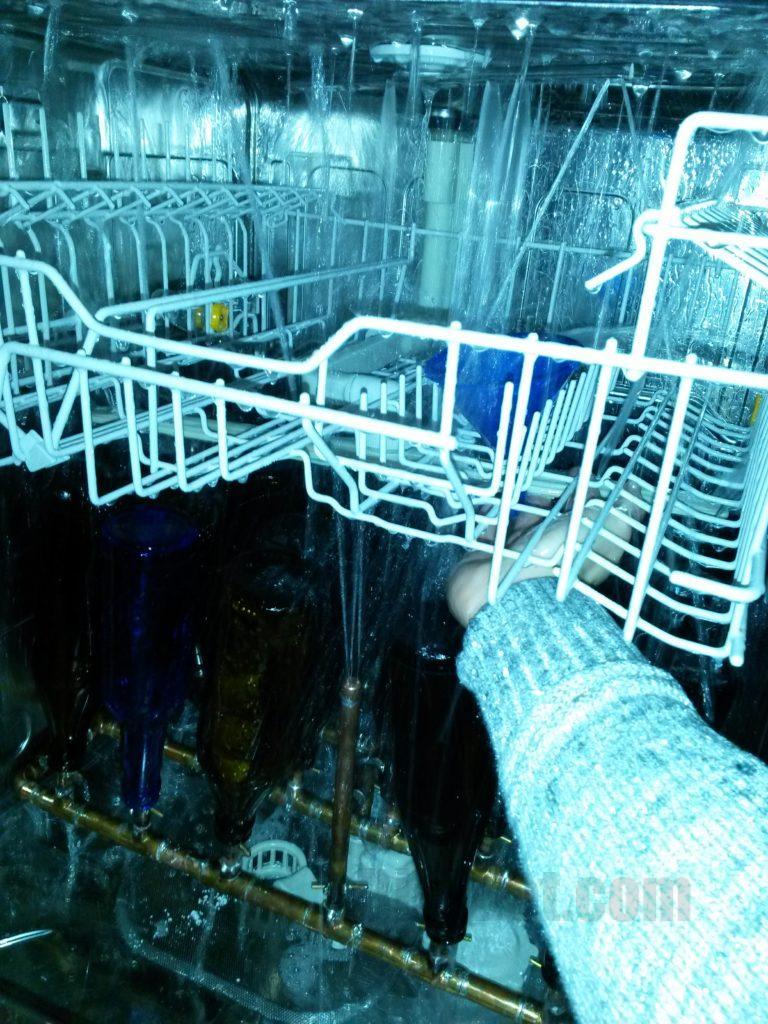
Water jets clearly visible.
To test how well our bottle cleaner actually is in cleaning beer bottles, we will put it through a test run. To make results more visible, we use flour instead of somewhat transparent beer.
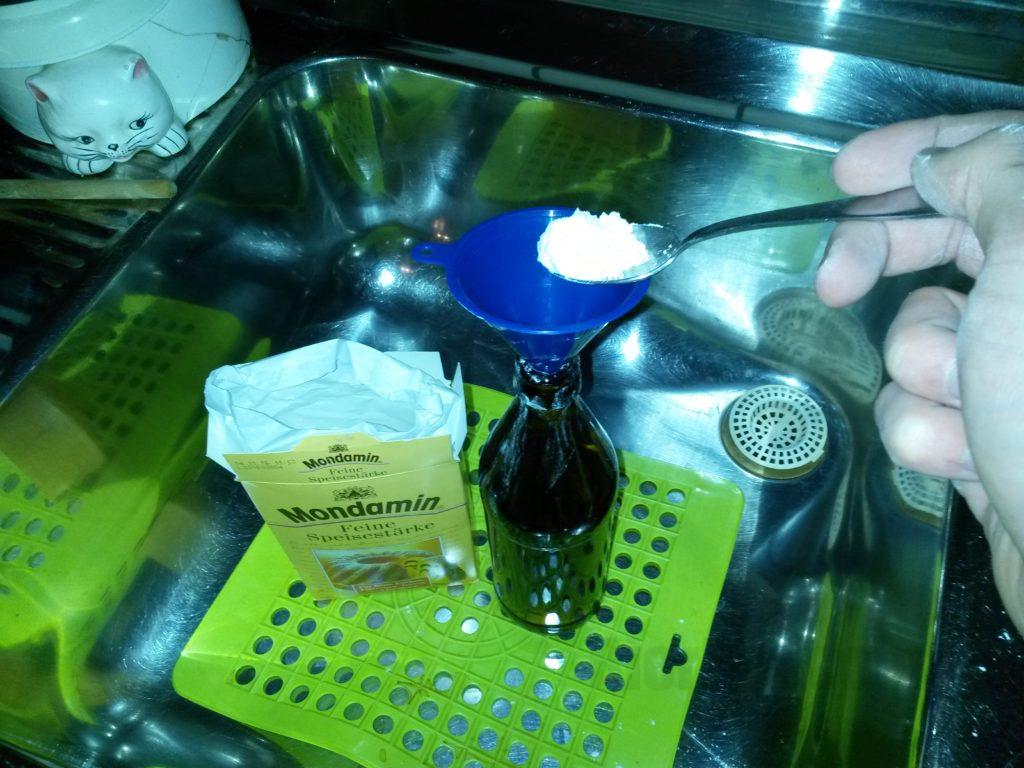
Flour for testing. 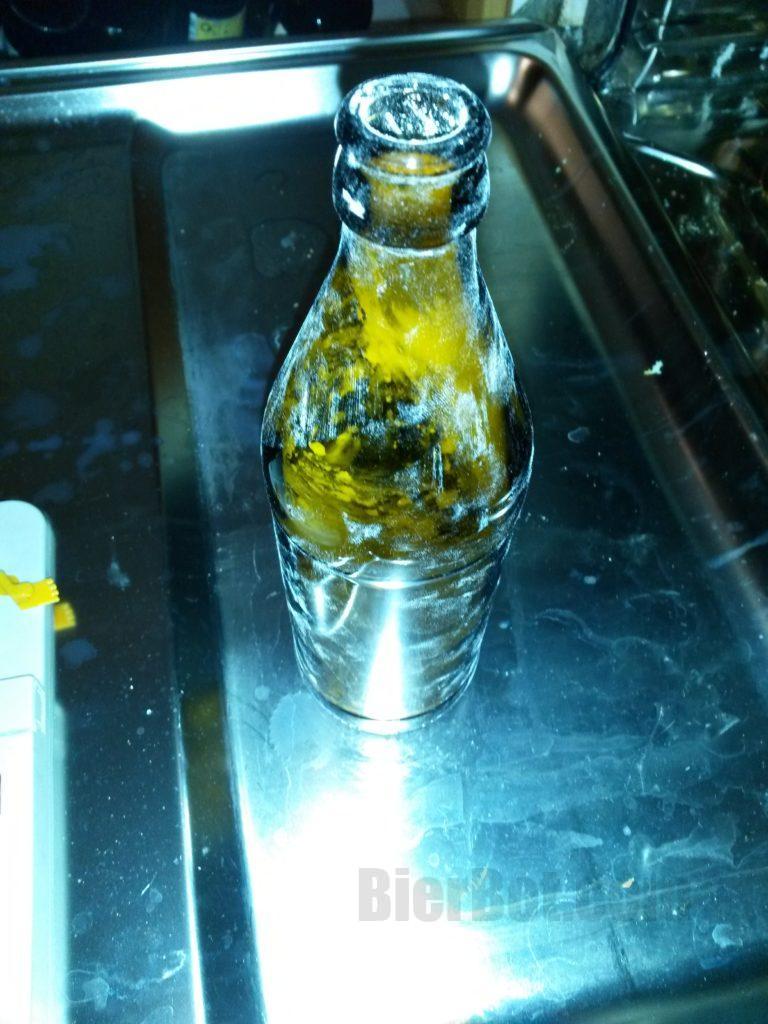
Outside 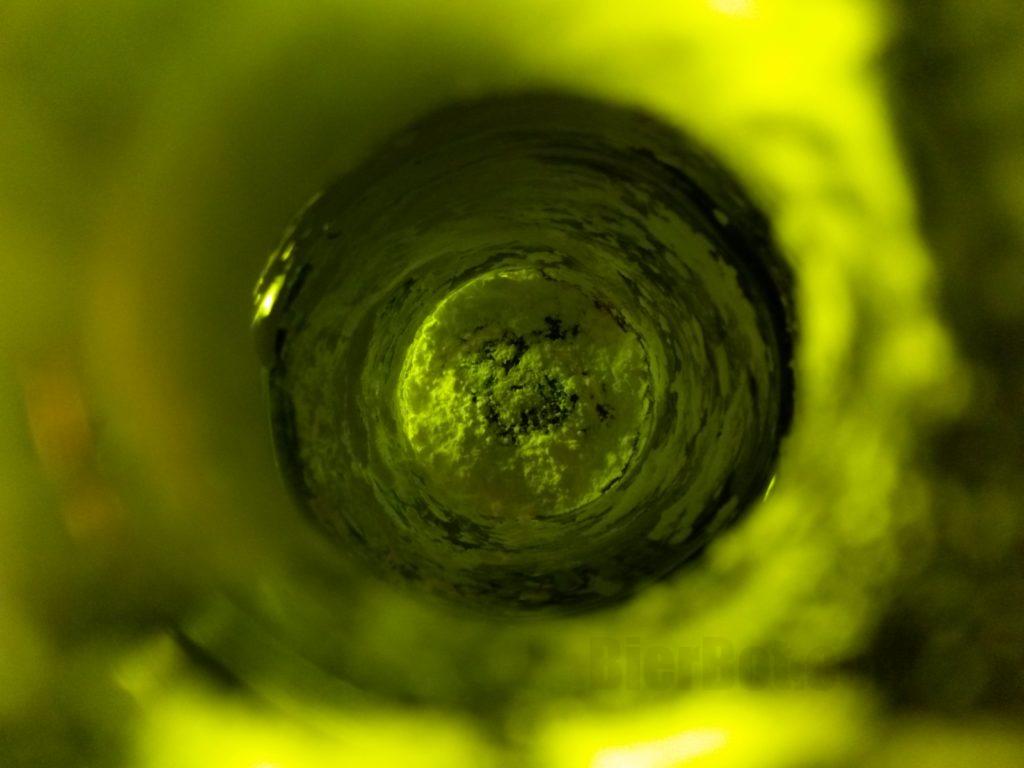
Inside
The bottle was placed upside-down onto our bottle cleaner. This is how it looked after cleaning:
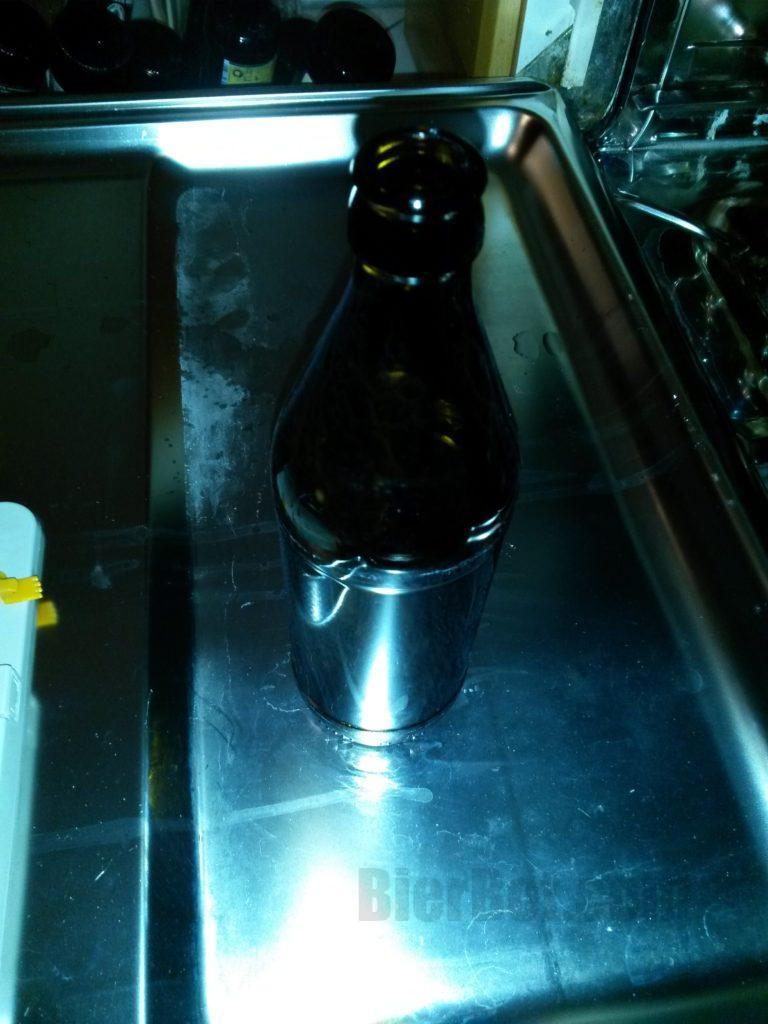
outside 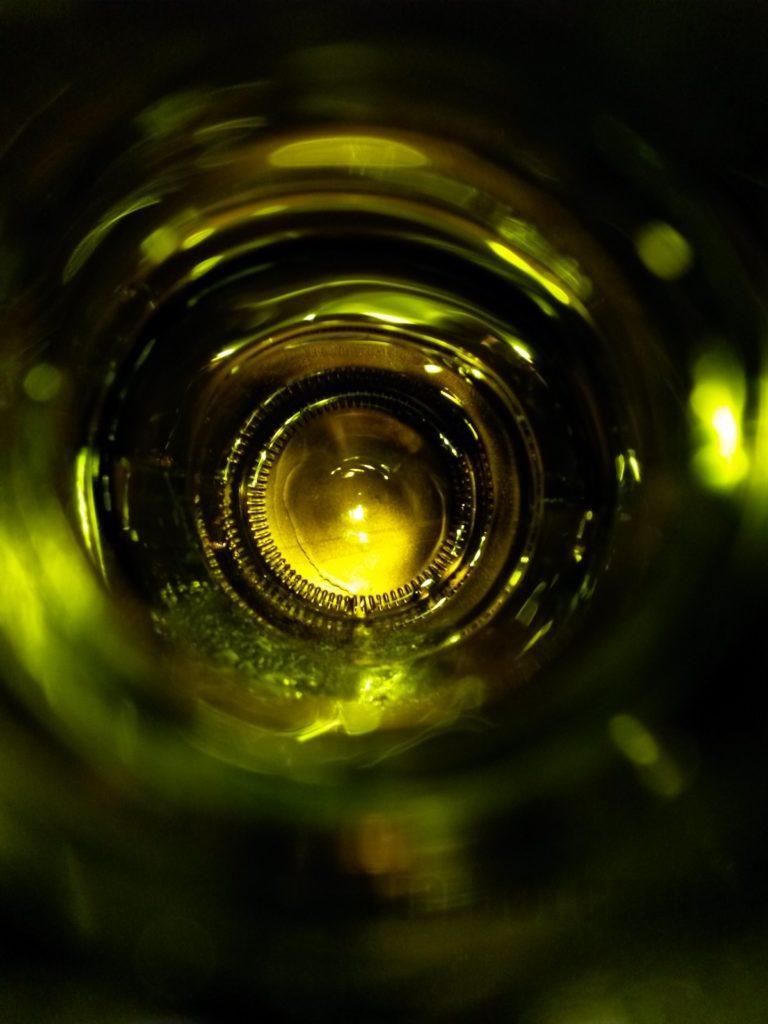
inside
Pretty clean, right? Happy bottle cleaning!