
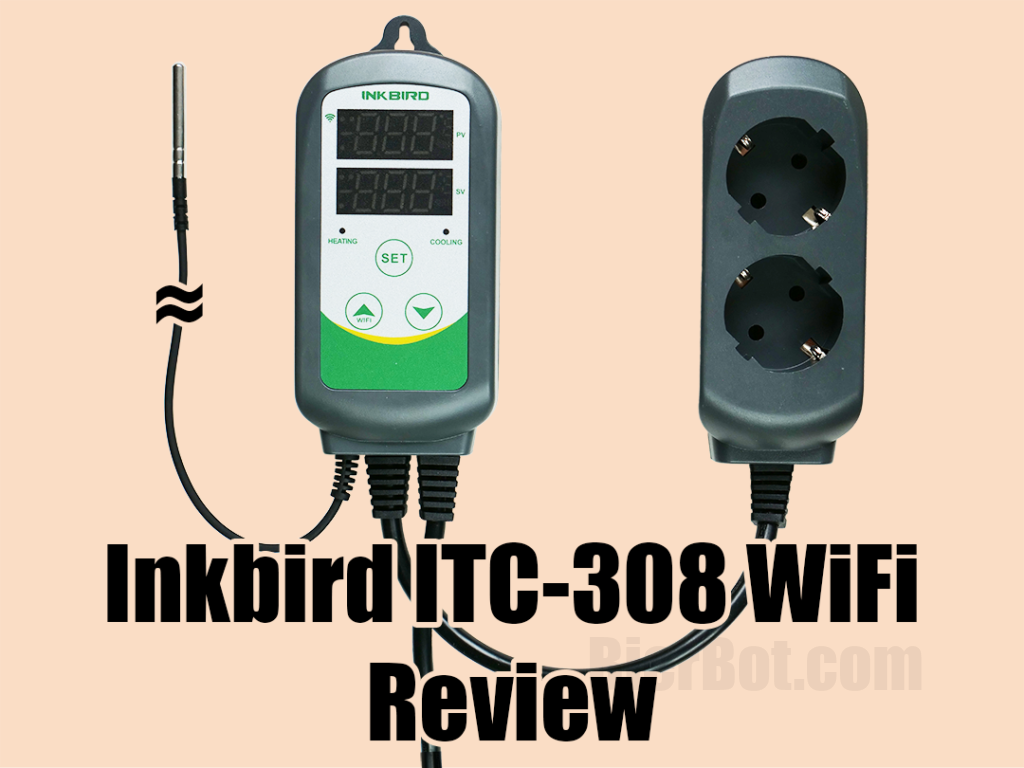
The Inkbird ITC-308(S) WiFi temperature controller is considered to be the best option for homebrewing among temperature controllers. Especially in the USA it’s a popular option to monitor and control the temperature during fermentation. This review covers what’s in the box, it’s features and typical usage scenarios, we will do a testrun, write up some pros and cons and conclude with a short summary.
What’s in the box?
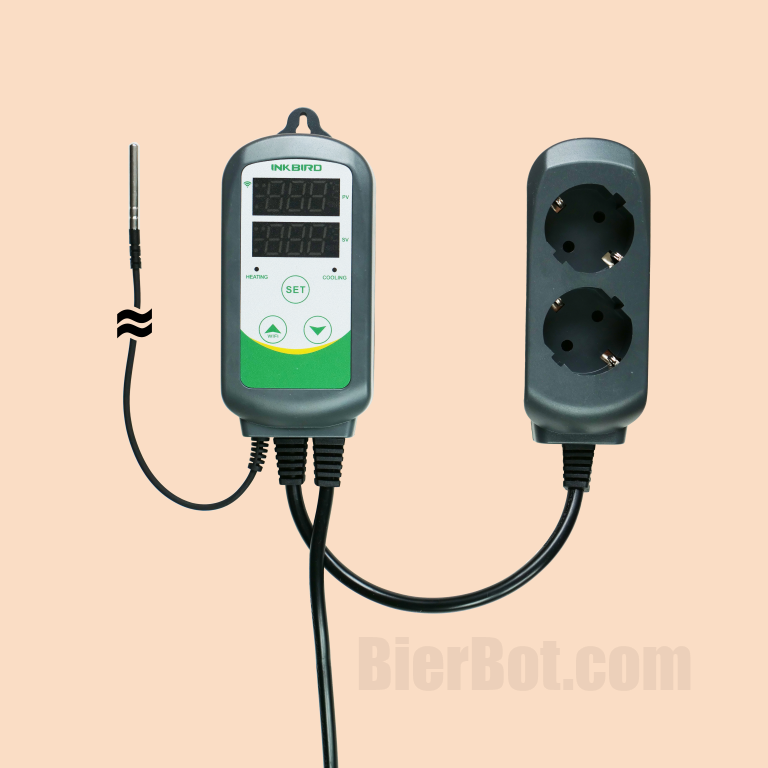
The following items are included in the box.
- Manual in multiple languages 🌎
- A warranty card
- The ITC-308 (135mm x 68mm x 33mm / 5.3in x 2.7in x 1.3in)
- Temperatureprobe / sensor
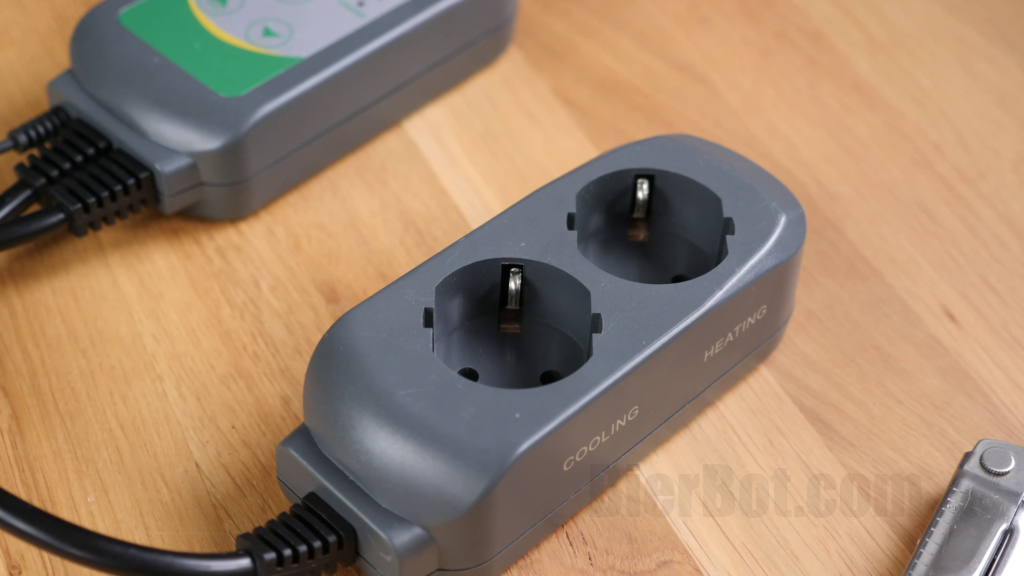
- Dual-Socket
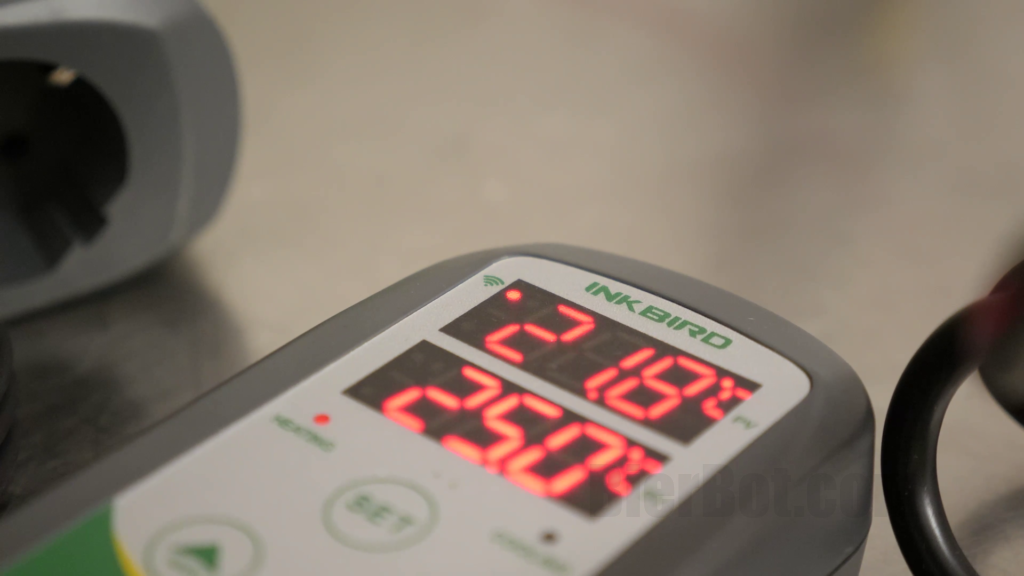
- 2 LCD Displays
Differences: Inkbird ITC-308 WiFi vs. ITC-308S WiFi
Inkbird currently released a updated version of the Inkbird ITC-308, that is called ITC-308S (note the trailing S). All specifications are exactly the same. The only difference is the detachable / removable temperature probe on the ITC-308S.
| Feature | ITC-308 / ITC-308S |
|---|---|
| Temperature control range: | 50 ~ 120 °C |
| Precision of the displays | 0.1 °C |
| Model of temperature control | Control with switch, heating and cooling |
| Output control | Max. 10 A, 100 V ~ 240 V AC. E.g. in Germany you’ll get 230V * 10A = 2300W = 2.3kW max output power |
| Body dimensions | 140 x 68 x 33 mm (5.5 x 2.7 x 1.3 inches) |
| Outlet | 85 x 42 x 24 mm (3.3 x 1.7 x 1 inches) |
| Working temperature: | -30 ~ 75 °C / -22 ~ 167 °F |
| Storage conditions | -20 ~ 60 °C / humidity 20 ~ 85% (no condensation) |
| Temperature control range | -50 ~ 120 °C |
| Type of sensors | IP68 waterproof NTC sensor |
| Temperature Probe | 40mm length, diameter 5mm (1.6in length x 0.2in), including the thicker plastics part 58mm Cord length: 183 cm (72 in) |
| LCD Displays | Each display 38 x 15.5 mm (1.5 x 0.61 in) |
| Cord length | Input: 140 cm (55.1 in) Output: 20 cm (7.8 in) |
Setting up the ITC-308 Wifi
Setting up the ITC-308 is easy. To get started, you need to download the app from the App-Store (iOS, iPhone) or Play-Store (Android). The fact, that there are three apps for the same device are a bit confusing.
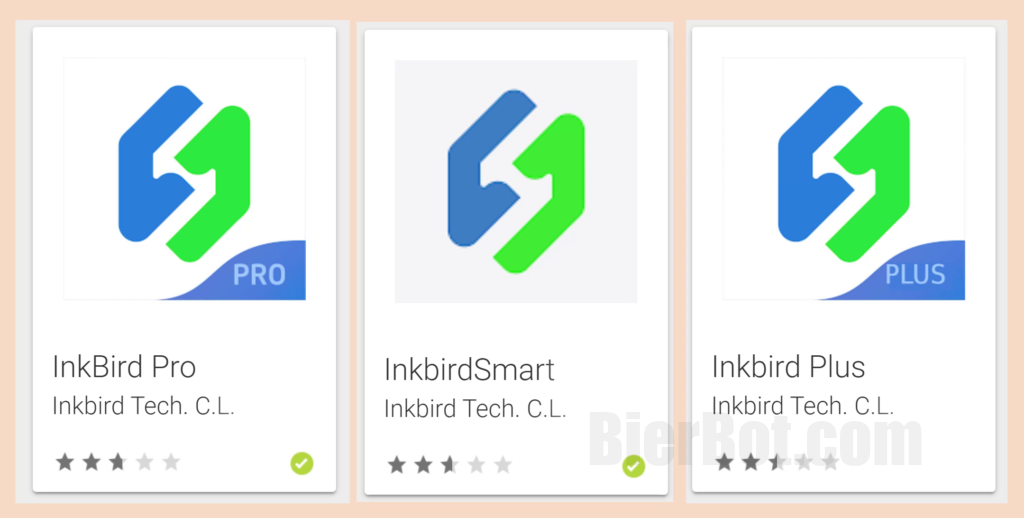
We went with the “Inkbird Pro” app. This one had the highest rating (3 stars) among all three. You need to manually search for the app – scanning the QR code in the manual does not work (you’ll see a 404 error accompanied by chinese letters).
After the app is installed and a “household” is created ( = the brewery 😀) – setting up your devce is easy:
- Open the app.
- Click on the “no devices” screen.
- Confirm, that the the WiFi-LED on the Inkbird ITC-308 is blinking rapidly.
- Enter your WiFi SSD and password.
- Wait for the app to setup your Inkbird.
- Inkbird will show up in your devices.
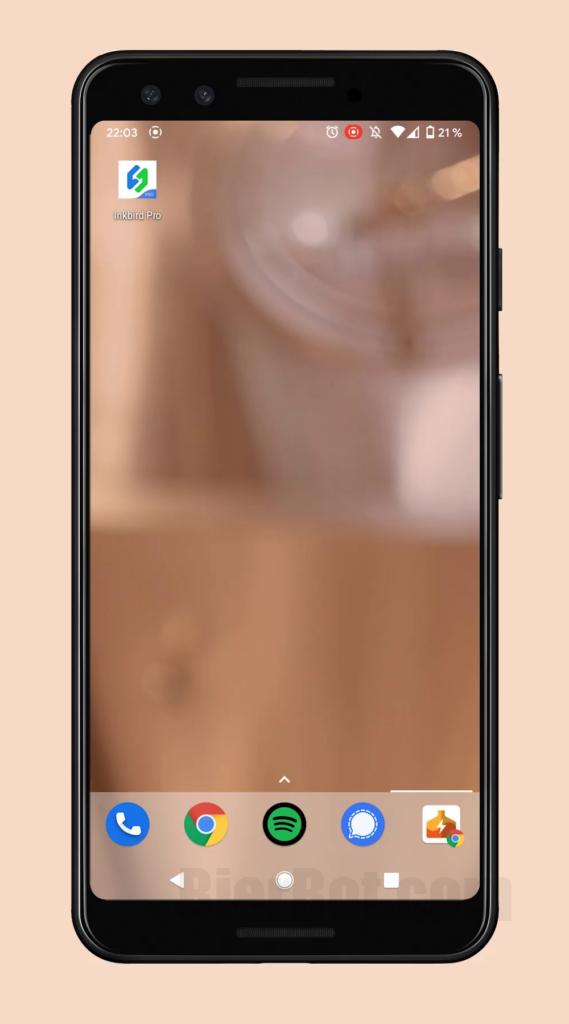
Open the app from the homescreen. 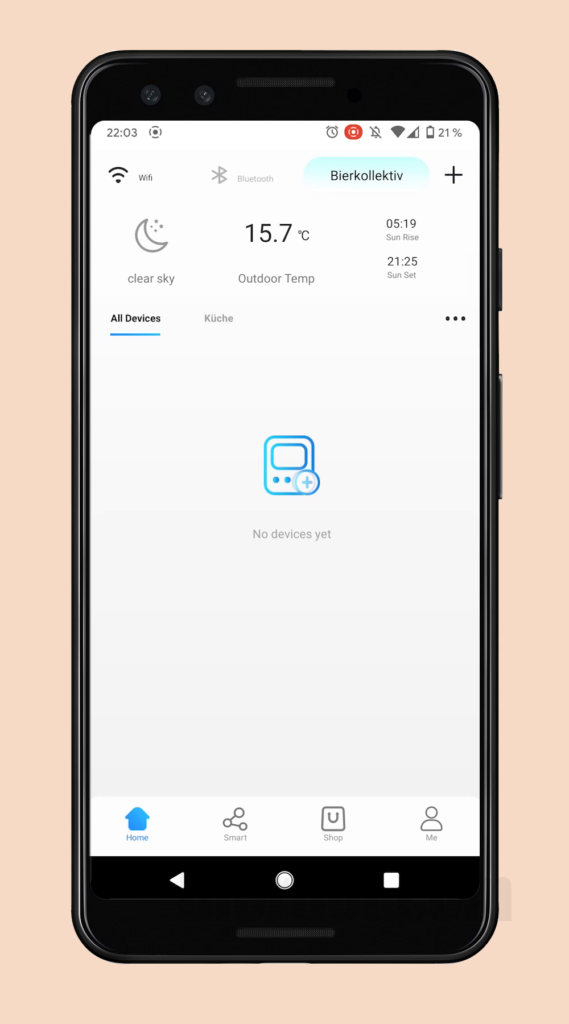
Tap in the empty space. 
Confirm rapid blinking. 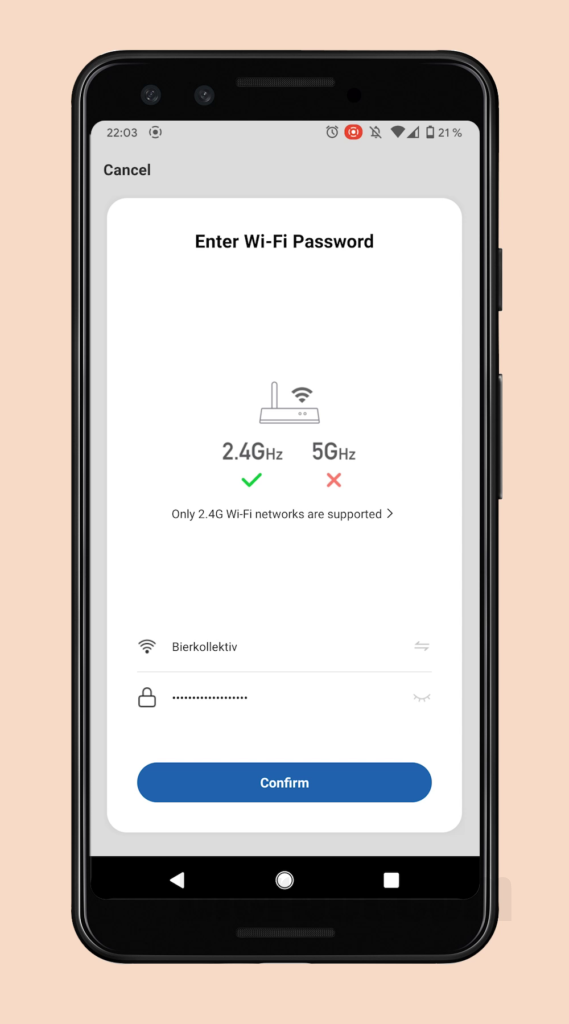
Enter WiFi credentials. 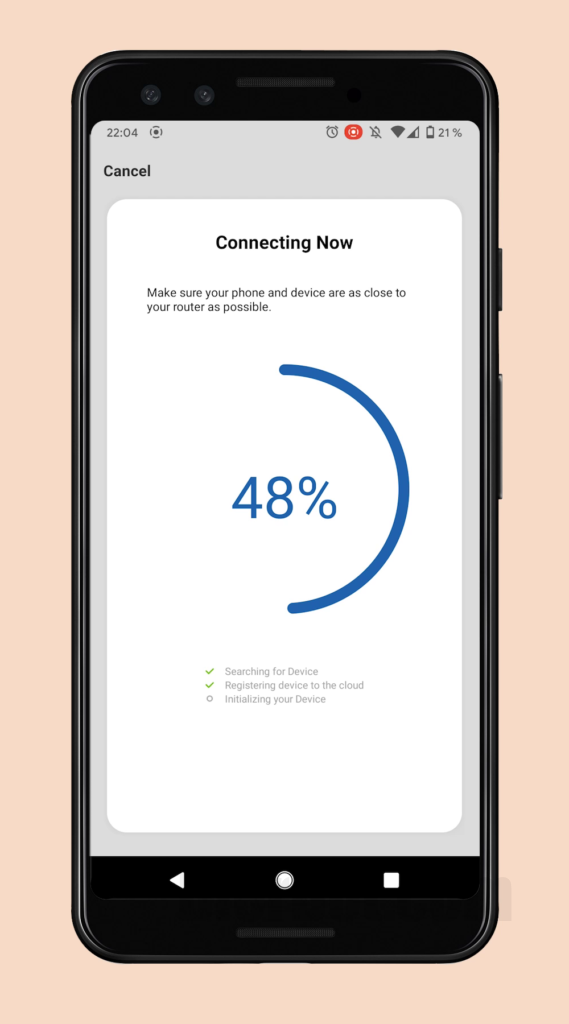
Wait for app to setup your ITC-308. 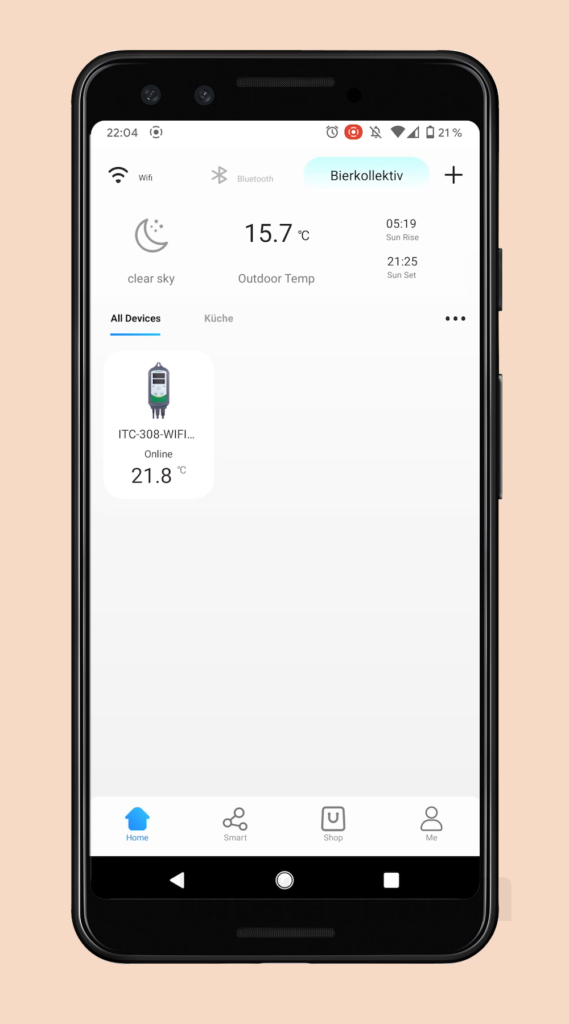
Device added!
After connecting, the WiFi-LED on your device will stay on:
Features
The high-level features of the Inkbird ITC-308 include:
- plug and play design
- Double relay output (cooling & heating at the same time)
- Dual display (measured and target temperature)
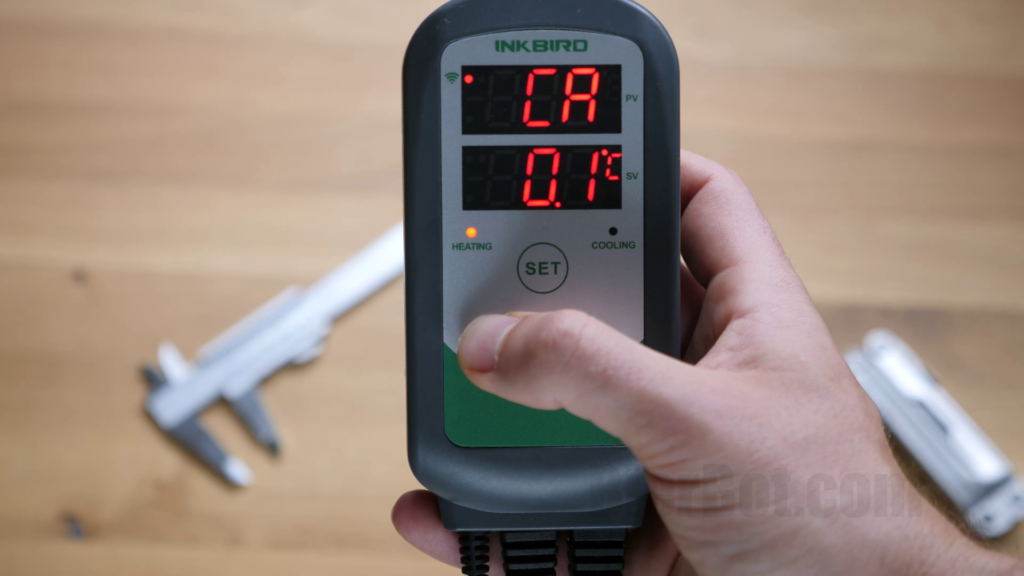
- Temperature calibration.
- Alarms for too high and too low temperatures.
- Adjustable (separate) heating/cooling difference function (hysteresis)
Let’s dive deeper and explore three typical usecases: Setting a temperature using the buttons on the device / the app. Calibrating the device using the app.
Setting the target temperature using the buttons
Setting the temperature the “old school” way is easy: First, press the “SET” button for less than 3s. Second, press the arrow up and down keys to change the target temperature. This will be shown instantly on the lower LCD screen. Lastly, press “SET” again to save the target temperature.

Setting the configuration using the buttons
First, hold the “SET” button for less than 3s. The menu will cycle will show. To get to the next menu item, short press SET. To exit the menu, you can press SET for more than 3s anytime:
- TS: Temeprature Set value – Setting the target temperature.
- HD: Heating Differential value – Defines a deadzone, where the heating socket is not turned on, despite the process value being below the temperature set value.
- CD: Cooling Differential value – same for cooling.
- AH: Alarm high limit – set the alert if this temperature is exceeded.
- AL: Alarm low limit – same as above, just the lower threshold.
- PT: Compressor delay – Delay for the cooling socket. If the cooling socket is flagged for turning on, this periode has to pass. This is to protect your compressor from being turned on and off to often.
- CA: Temperature calibration – If your temperature probe has an offset you can correct it here. The temperature relevant for turning on/off the sockets is calculated by “measured temperature + CA”.
- CF: Display in Fahrenheit or Centigrade / Celsius. Attention changing this setting will factory reset the device (and all other settings are lost).
Setting the target temperatures using the app
Setting the target temperature using the has two major benefits: First, you done have to hold down a button for 10s to change temperature 10°C. Second, and that’s probably the major one: You don’t have to be physically close to the device – this works from anywhere!
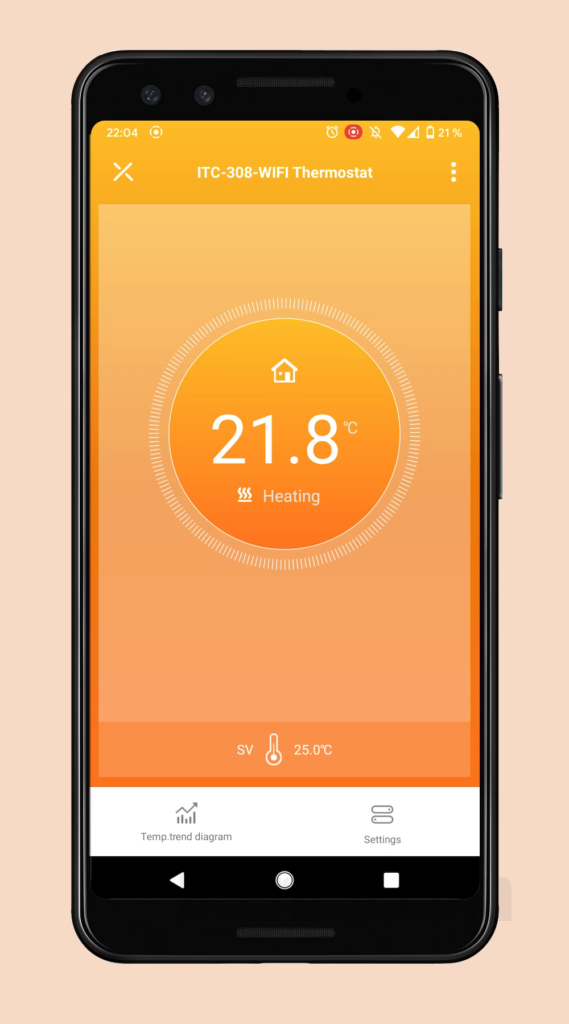
This is how the app looks after opening your device. Tap the temperature in the bottom of the orange area… 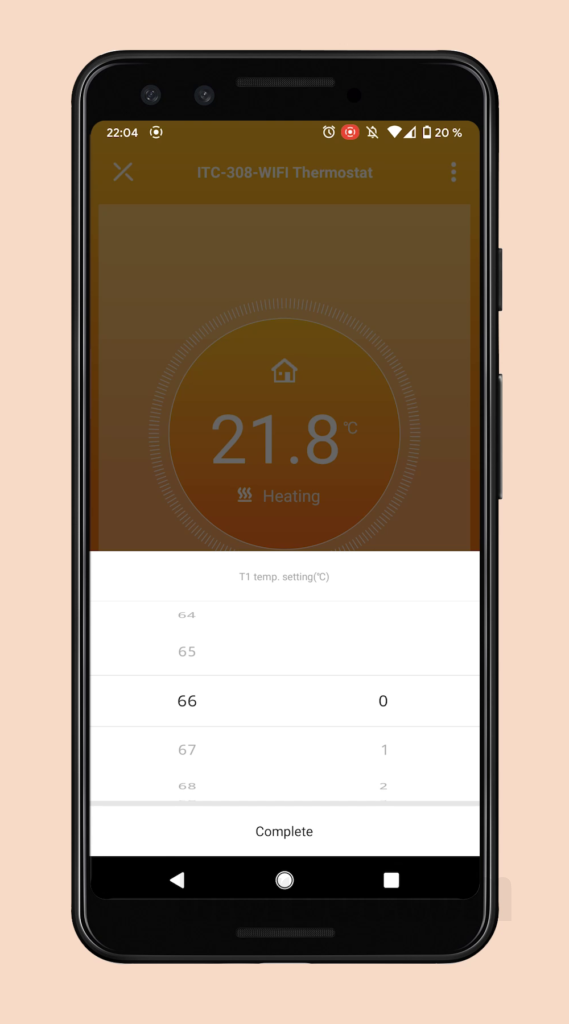
… select the target temperature and hit “Complete”.
Testrun: Reaching & holding a target temperature
Setup: We set up or 29l mashtun as we would for a normal brew – we only skipped the fermententables. Anything else was setup as usual: 20l of water were added, the agitator installed and stirring turned on. We added a second temperature probe to allow highly scanned temperature tracking.
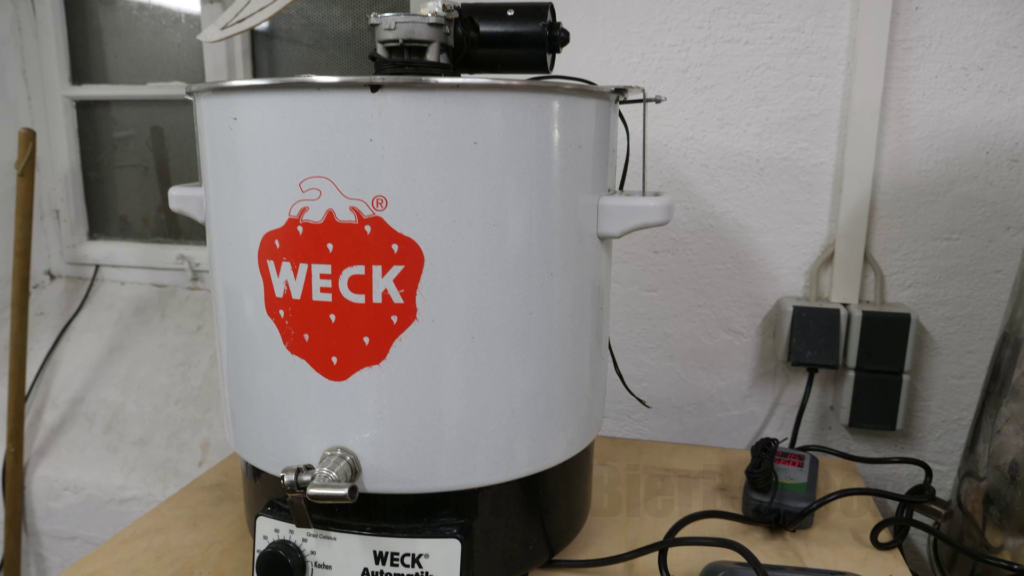
The hardware/mashtun for the testrun. 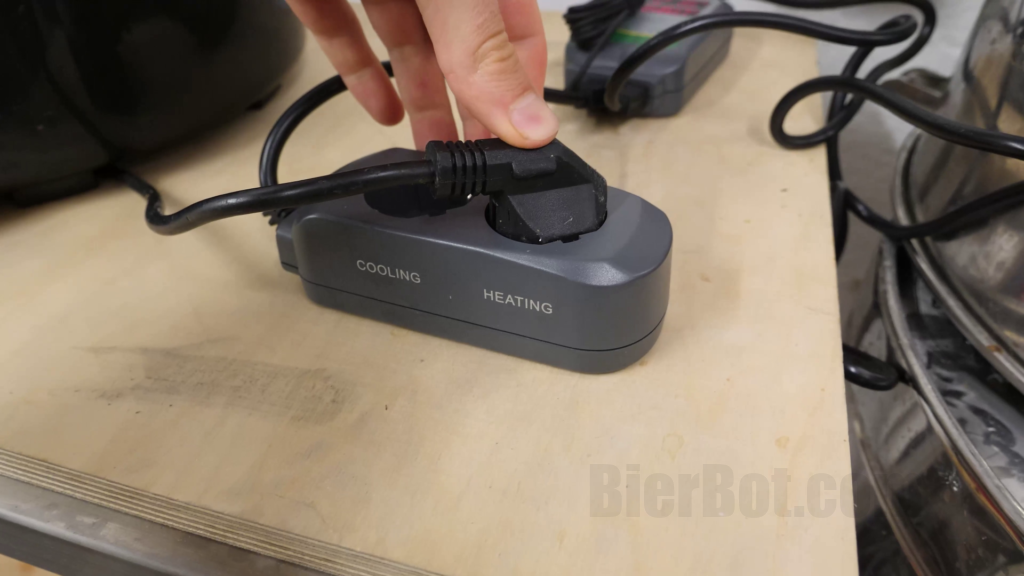
Plugging in the mashtun into “heating”. 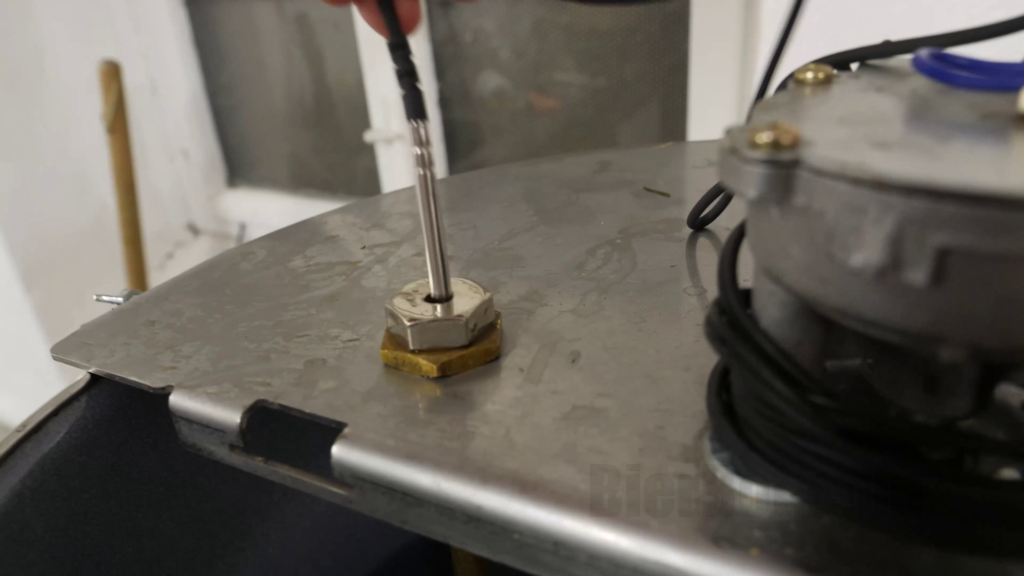
Installing the temperature probe. 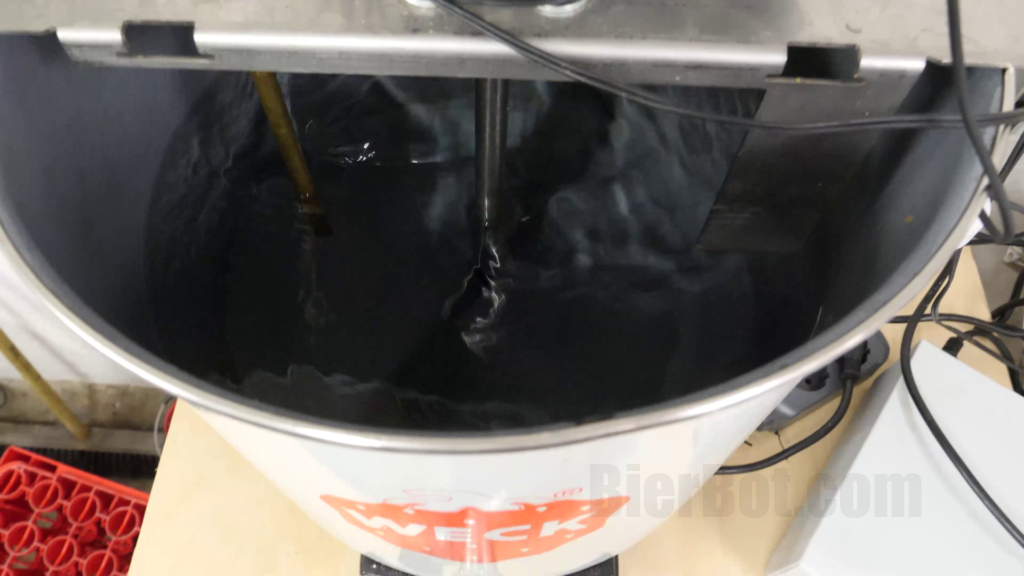
Agigator is turned on for a homogeneous temperature. 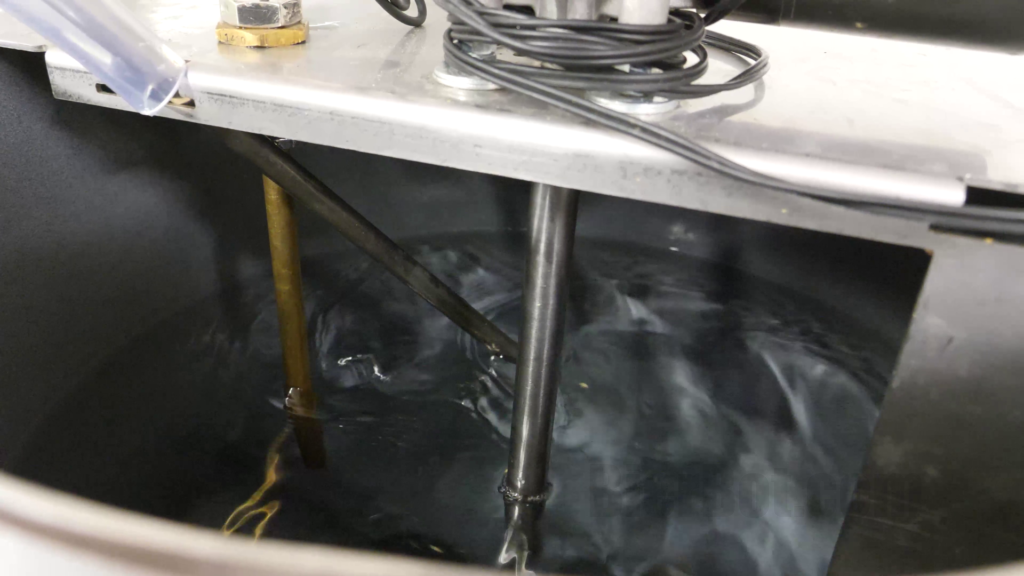
Installing a second probe for measurements.
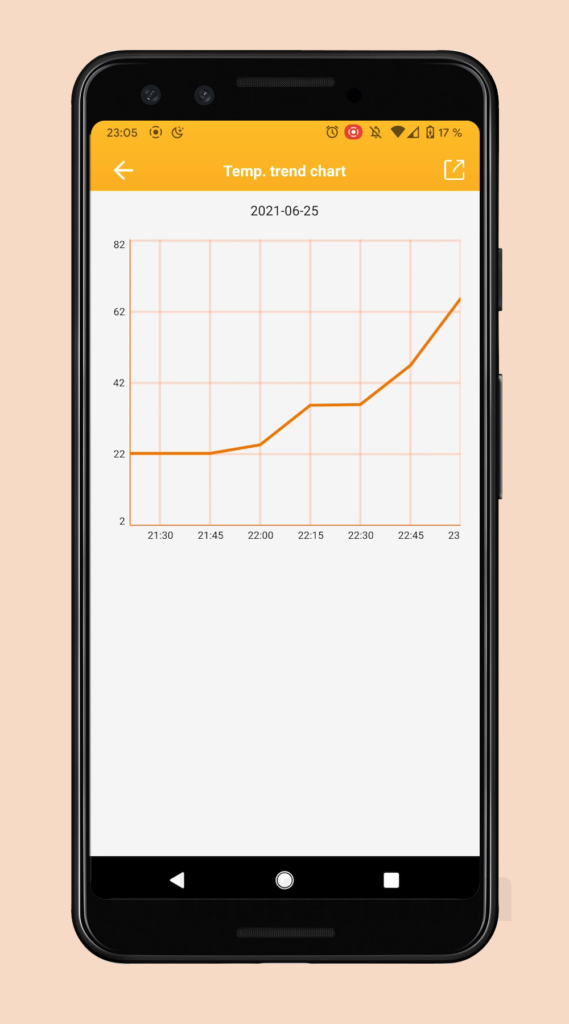
The experiment started with a water temperature of 22°C (72°F). The target temperature is set to 66°C (151°F) – 🤘.
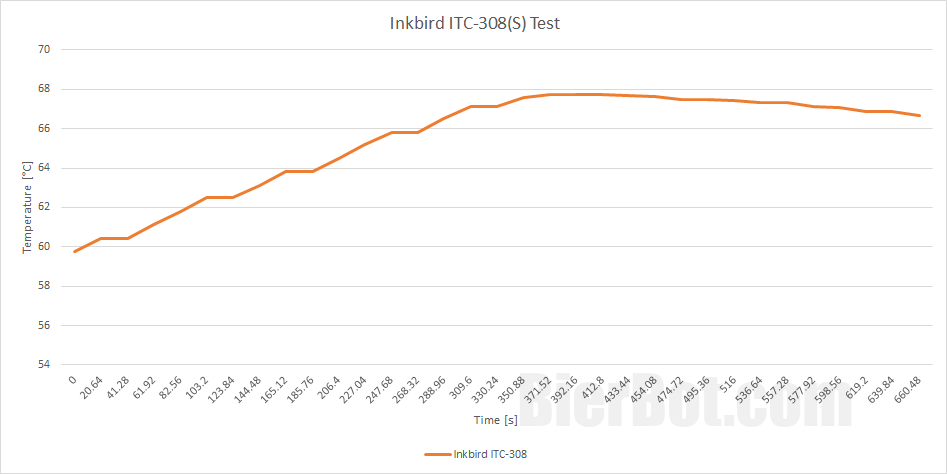
Recorded temperature curve as controller by the Inkbird ITC-308. Reroding was done by BierBot Bricks.
Since the Inkbird turns of the relais when the target temperature is reached, the temperature overshoots. In this case the highest temperature is 67.8°C (154°F) – which amounts to an overshoot of 1.8°C (3°F). The relais staid off after the temperature was reached. After that and not displayed in the plot: The relais will be turned on again, as soon as the actual temperature falls below the “target temperature – HD (heating differential)”.
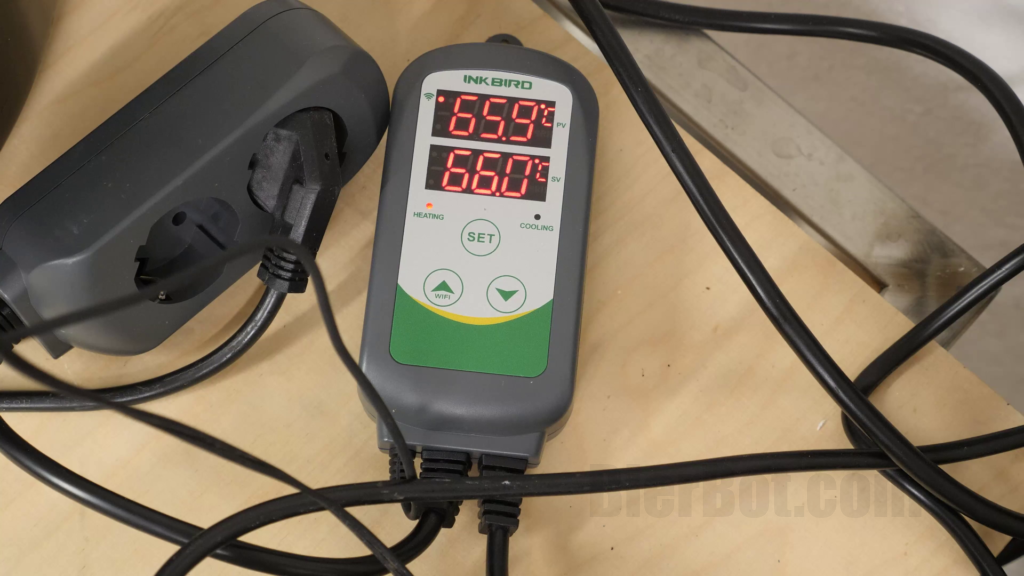
At 65.9°C the relais is still on. 
When reaching the process value / target temperature, the relais is turned off.
Same goes for the cooling. The “cooling” relais will be turned of, when the target temperature is reached. If the temperature rises above the “target temperature + CD (cooling differential)” the relais is not turned on immediately in this case. First, the compressor delay (denoted as PT in settings) has to pass. The device reflects this by a flickering LED.
The logfile of the Inkbird as recorded by BierBot Bricks can be downloaded here:
Let’s look at the inkbirds historic log data:
| Time | Temperature | Unit |
|---|---|---|
| 25.06.2021 21:15 | 22 | C |
| 25.06.2021 21:30 | 22 | C |
| 25.06.2021 21:45 | 22 | C |
| 25.06.2021 22:00 | 24.4 | C |
| 25.06.2021 22:15 | 35.5 | C |
| 25.06.2021 22:30 | 35.7 | C |
| 25.06.2021 22:45 | 46.7 | C |
| 25.06.2021 23:00 | 63.6 | C |
| 25.06.2021 23:15 | 35.6 | C |
| 25.06.2021 23:30 | 59.6 | C |
| 25.06.2021 23:45 | 66.2 | C |
Pros and Cons (homebrewing)
Pros (things we ❤):
- Easy to setup.
- Nice app(s) – we used the Inkbird Pro.
- Two displays are great to glimpse the current and target temperature – without having to pull out the phone and open an app.
- The max power of 2.3kW is easily enough to power any fermentation device such as a fridge, freezer, or glycol chiller.
- Data can be exported.
- Calibration of temperature offsets.
- Possibility to set alarms.
Cons (things we 😕):
- Relais is turned off when the target temperature is reached. This will inevitably lead to temperature overshoots. Which is bad during mashing, especially during mash out – where you want to stay below 78°C / 172°F.
- The max power of 2.3kW (for 230V) is not sufficient to power common mashing devices such as the Hendi Induction Plate (3.5kW) or a typical heating element (3.2kW).
- The temperature sensor is hard to replace. This issue is however solved with the Inkbird ITC-380S.
- Logging interval is pretty long.
- We had trouble connecting the app after changing to a different location (and different WiFi) – even a factory reset did not help.
Summary
Take this summary with a grain of salt, as I am the creator of the BierBot Brick. The Inkbird ITC-308 is great device for homebrewers – especially for fermentation. In this case, temperature under- and overshoots are as well as the fact that the temperature is logged only every 15 minutes neglectable. However, during mashing where nailing the temperatures is crucial and more fine granular logs (like multiple times per minute) are desirable, checking out the BierBot Brick might be worth it 👍.
Thanks for reading!
Thanks for the detailed description!