

Measuring your worts specific gravity (SG) is crucial when brewing beer. During mashing, it’s one of the most imporant key figures defining the taste of your beer. During fermentation it provides valuable information how your fermentation is going and when it’s over. After fermentation, knowing your final gravity is crucial for calculating the alcohol by volume (ABV). Let’s review, how the TILT can help us!
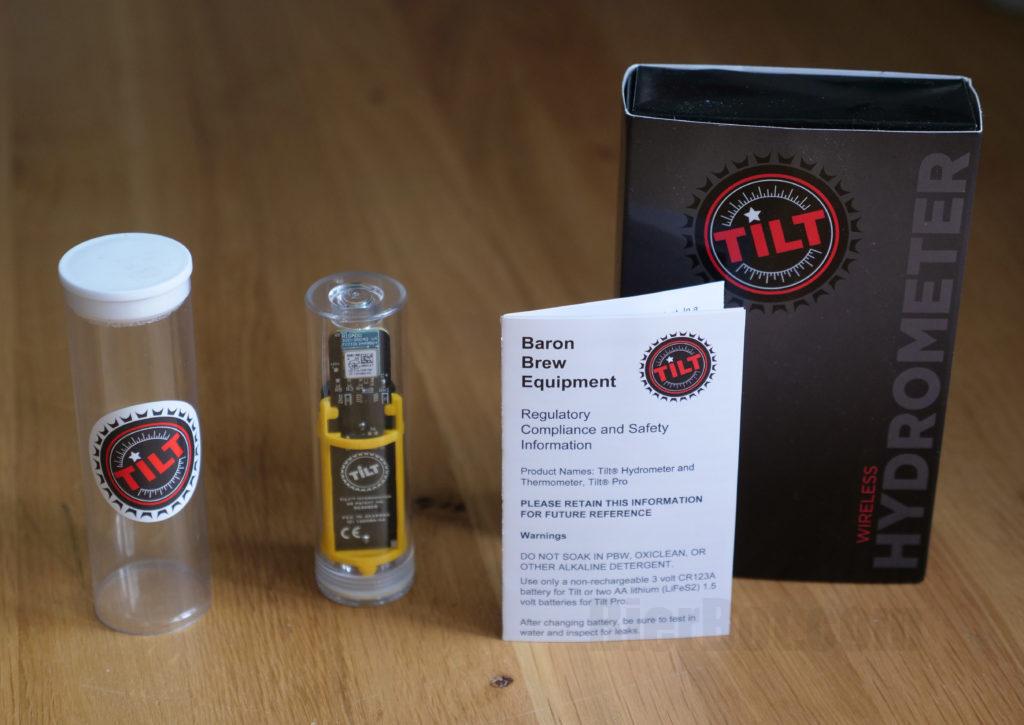
What’s in the box
- A short, yet sufficient, manual / quick start guide.
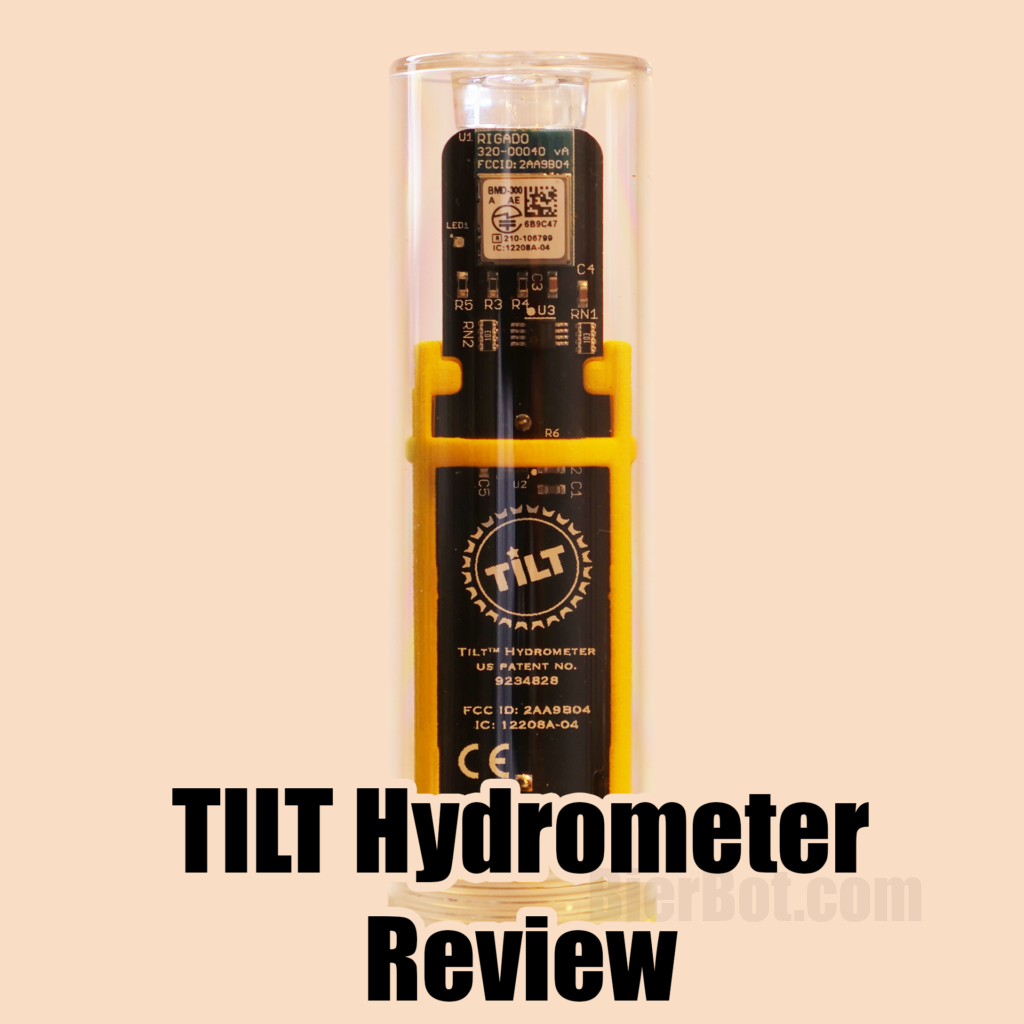
- The TILT electric hydrometer itself.
- A small transparent tube just a little bigger than the TILT.
- The box itself
Features
- Bluetooth 4 LE (low energy).
- Long lasting battery – TILT claims “12-24 months depending on the usage”. I’ll update this post when I have to replace my battery. Up until now I’ve used the TILT for the following brews:
- August 2021, 3 weeks fermentation
- Smart Auto-On/Off: The TILT detects when it’s floating in liquid.
- Easy one-step calibration using water.
- Easy to use App for Android and iOS.
- Calibration: You can use water or wort (where you measure the SG using a different device).
Setup to TILT electric hydrometer
The setup is so easy, it’s probably not even worth to use a headline for it. Download the “Tilt 2” app from the appstore / Play store, enable bluetooth on your device, drop the TILT into water. Done.
One more thing: There is also an “TiltPi app” – running on your RaspberryPi. This is handy, especially for continuous monitoring when you have a RaspberryPi in your brewery anyways. However, this is not part of this article.
Measuring / tracking the specific gravity
One time / single reading of specific gravity
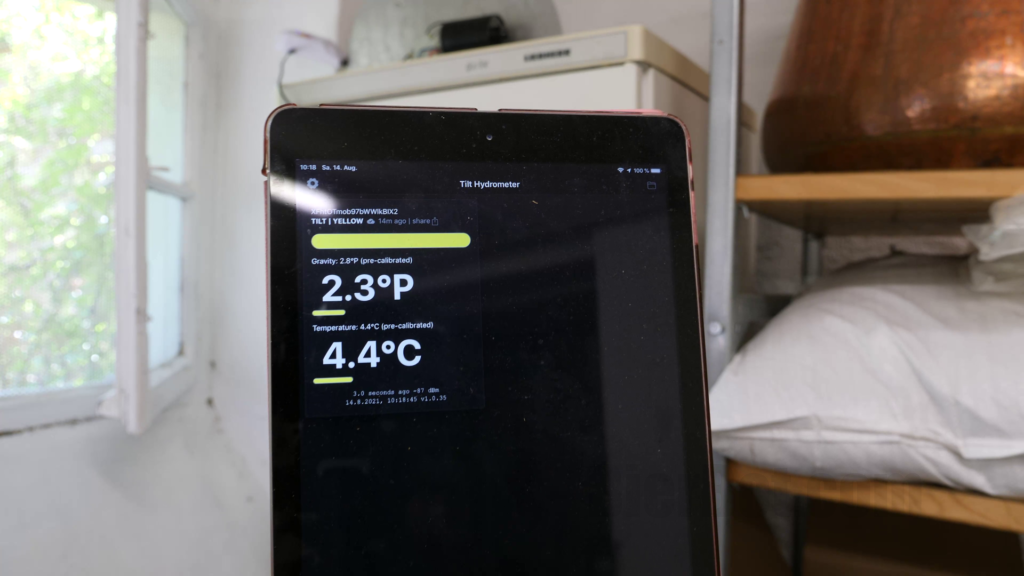
During mashing, a one time reading is usually suffcient. To do that, simply open the app. You’ll be presented with the SG reading. We compared the reading to an old school reading: Pretty accurate! TILT reported 12.8°P, measurement was 12.9°P (final TILT SG 2.8°P/ final measured SG 3.8°P).
Tracking fermentation / specific gravity over time
Tracking the gravity over a longer periode of time is the more interesting feature. This allows you to derive interesting insights such as: “Did my fermentation start properly?” or “When is my fermentation completed?”. Especially the latter question is of interest: Knowing when your fermentation is over allows you to bottle / keg your wort right on time, reducing the time window for unwanted infections.
Tracking over time can be achieved using different services. We will look at two in this article:
- Tracking your fermentation using a Google Sheet.
- Tracking your fermentation using BierBot Bricks.
Using a Google Sheet
The process is interesting – but works:
- Enter a beername.
- Enter your @gmail address in the TILTs configuration.
- You’ll received an invitiation from Noah (the genius behind the TILT 😀) to a shared Google Sheets file.

The Google Sheet will be named will be “Beername (color + TILT)”, e.g. “Irish Stout (YELLOW TILT)”). When you open it, you will find:
- all sensor reading history
- Calculated measures derived from the history such as
- Apparent Attenuation
- Standard Method ABV
- Fermentation Rate (per day)
- a chart generated for you
- Help-Tab with tips
Unfortunately, I screwed up and only received two readings at the very beginning on my first attempt (since I was actually tracking with BierBot Bricks). You can still download the file here:
Long term specifig gravity (SG) tracking using TILT and BierBot Bricks
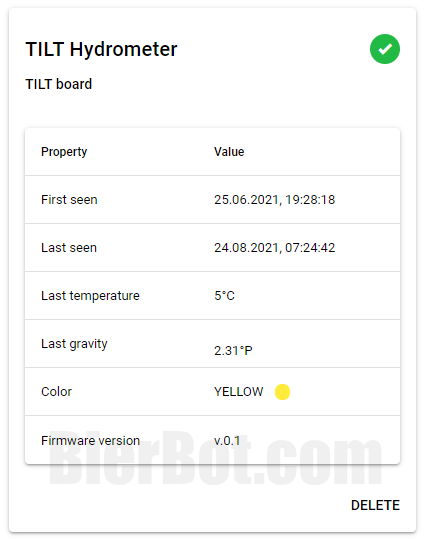
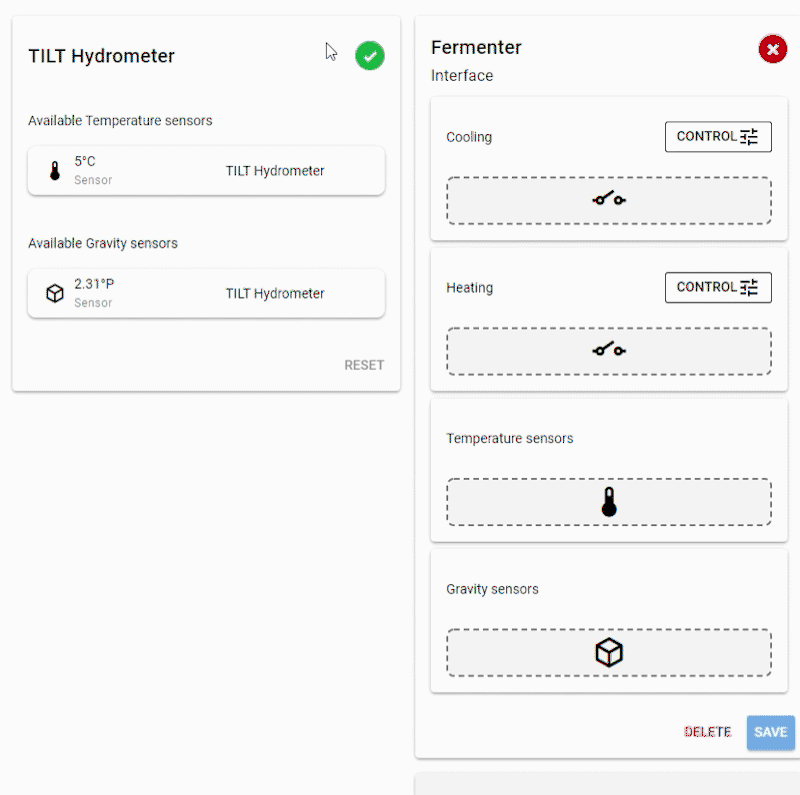
You can also add your TILT to your BierBot Bricks brewery. A detailled tutorial how to do so is available here. In short: Open the TILT 2 app and set your API key as beername and enable cloud logging. That’s it. The TILT will show up online under bricks.bierbot.com:
Attach the SG sensor of your TILT to a fermenter by simply drag and dropping.
Then, create a recipe with fermentation steps. When you start the recipe (load it into automatic mode), your SG is recorded over time. In case of BierBot Bricks that looks like this:
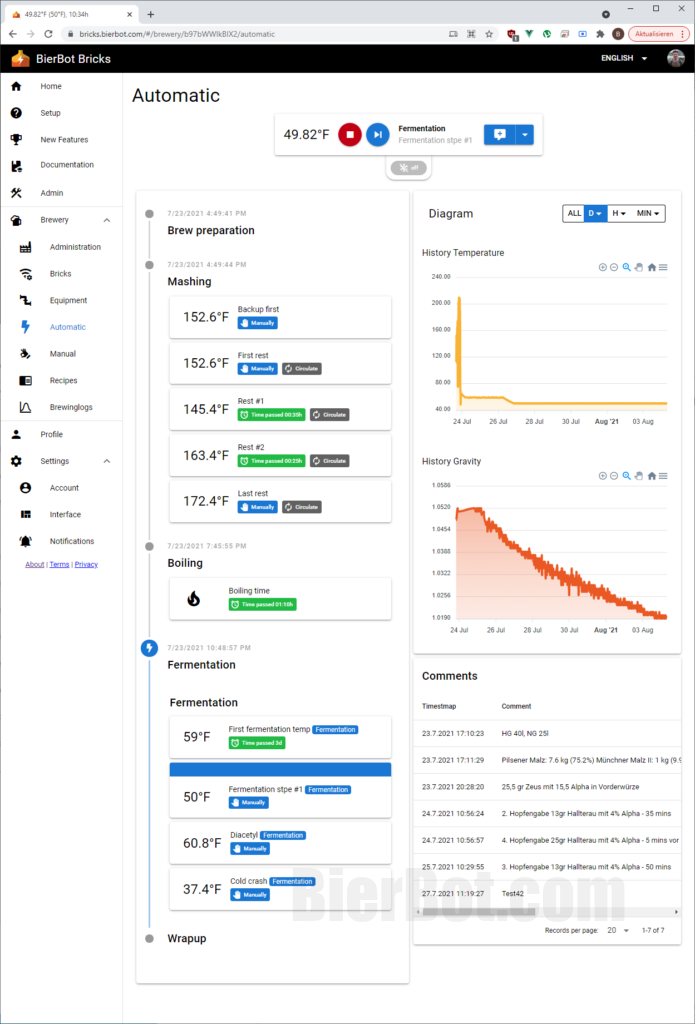
On the left, you will see all temperature steps of your recipe. In this case, the recipe included mashing and fermentation. The currently active target temperature (50°F) is marked blue. On the right, you see your temperature and specific gravity diagrams. You can zoom in and out or use the dropdown on the top-right corner to select a specific range (e.g. “3d” or “20min).
After recipe is finished, a brewing log is automatically created for you. You can either view it online or export it as PDF. Here is a PDF export of one of our last brews:
Caveats
We use a simple, single-walled fermentation tank that we put into a fridge / freezer. When we setup the TILT for the first time, we had trouble connecting. We overcame connection issues by using a device with a high-end Bluetooth module (e.g. iPad) and by placing the iPad closer to the TILT. If that still does not help: you might to checkout the TILT Pro.
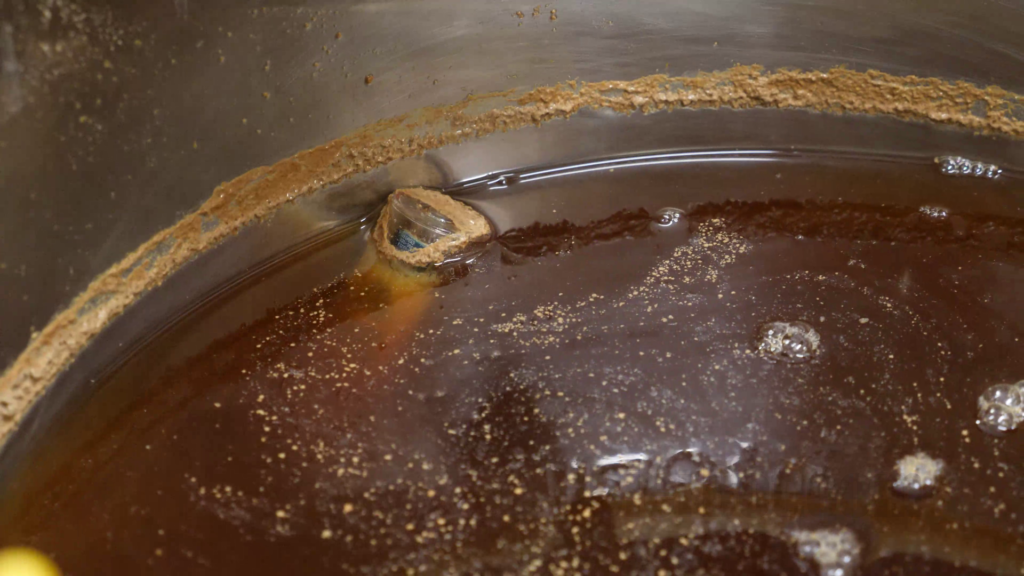
TILT floating in wort. 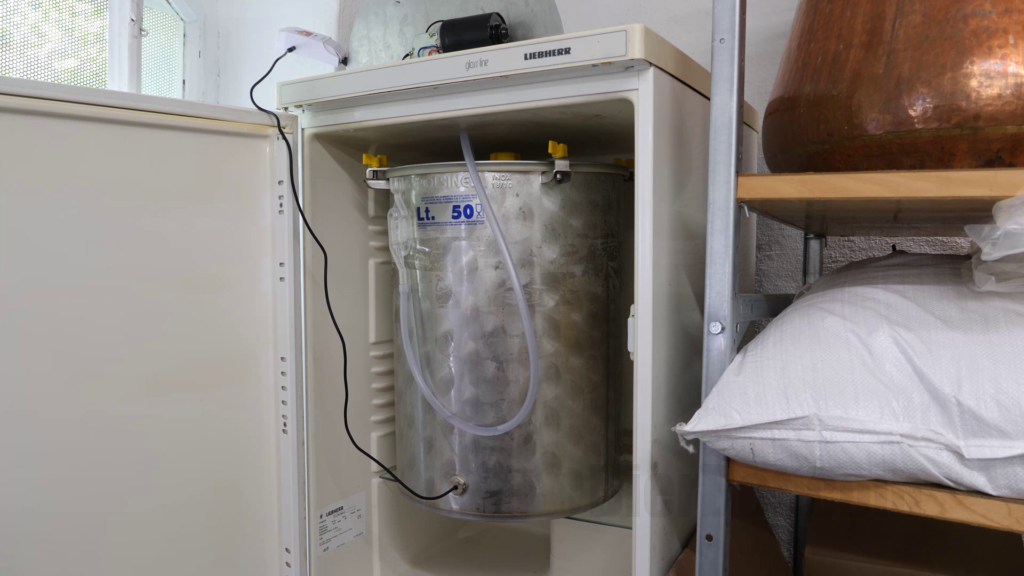
Stainless steel fermenter.
Summary
The TILT is a great device for providing an easy to get answer to the question “what’s my SG”. When tracking SG during fermentation you can even answer advanced questions like “did my yeast start?” or “when is my fermentation over”. The setup is easy and the fact that the battery lasts for multiple months – thanks to Bluetooth low eneregy – makes this a great device for homebrewers!
Pingback: iSpindel kaufen | BierBot | Homebrewing automation
Pingback: Boel iTap X review - The joy of bottling | BierBot | Homebrewing automation