

This a review of the iTap X from Boel. A little yet very helpful device that helps you to transfer beer from a pressurized KEG to a bottle. It helps you to purge the bottle with CO2 and promises minimum losses!
There is also a YouTube version of this review:
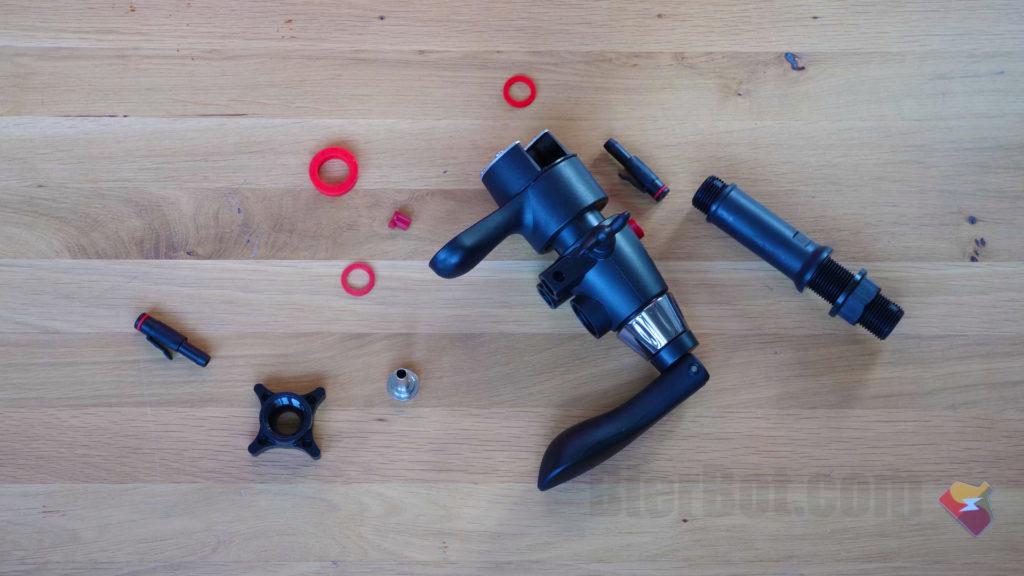
What’s in the Box
- The iTapX
- A spare seal for iTap X to beer bottle connection
- A manual
Note: You probably notice that it came from Russia. Boel gave me the unit for free to review it. I actually got the iTap before Russia invaded Ukraine. The website currently states “Our company is private and is outside politics. The store operates normally and delivers goods in 1-2 weeks to Europe”. That’s probably all you can say in Russia these days without going to jail….
What you need to order yourself
The iTap X comes with three 0.8mm (0,0314961in) nipples where you need to setup the connections yourself. So you’ll also need one hoe that goes to the beer connection of your KEG, and one hoe that goes to your CO2 supply, and one hoe for the excess CO2 and beer. I ordered readily assembled (with connection on both ends) hoes for beer and CO2 and cut one end off. This “loose” end was then tightened using a threaded clamp to the respective nipple of the iTapX.
My final (additional) shopping list looked like this:
- 1.5m long, 7mm inner diameter beer hoe with 5/8″ connections on both sides (8.99€)
- 1.5m long, 7mm inner diameter CO2 hoe with 3/4″ connections on both sides (8.99€)
- 2m long, 7mm inner diameter generic hoe, without connections on either side (3.98€)
- 3 stainless steel threaded clamp shells (0.96€)
And something something to mount your iTap X onto. Since I love welding, I had to build mine from stainless steel. You can download my CAD files for free here. There are two pieces: The top one with holes for the iTap, and the lower one, for being easily clampable to the table. Both plates are 125mm x 79.25mm and heavily over-engineered with 4mm thickness.
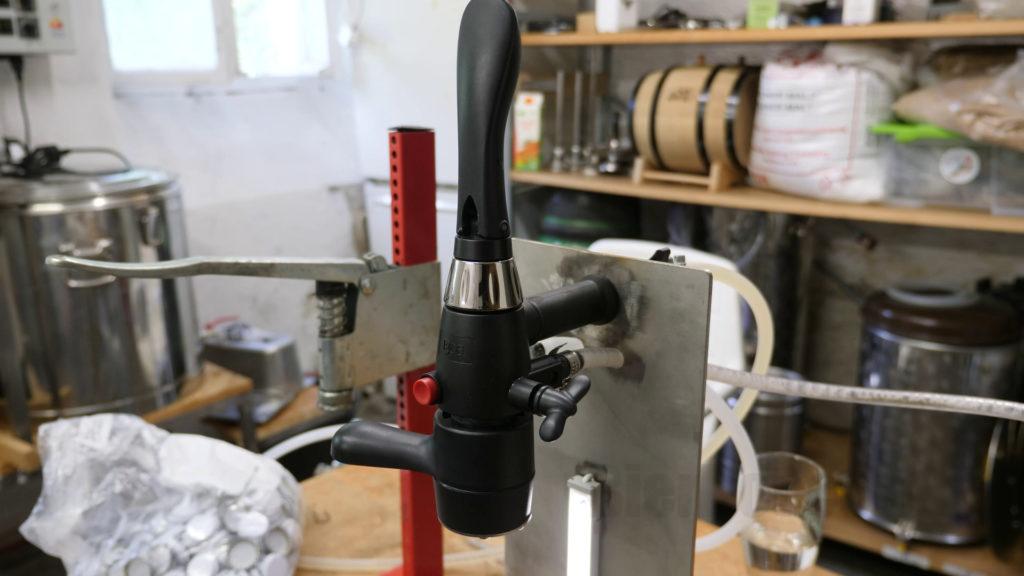
Building a mount for the iTap X
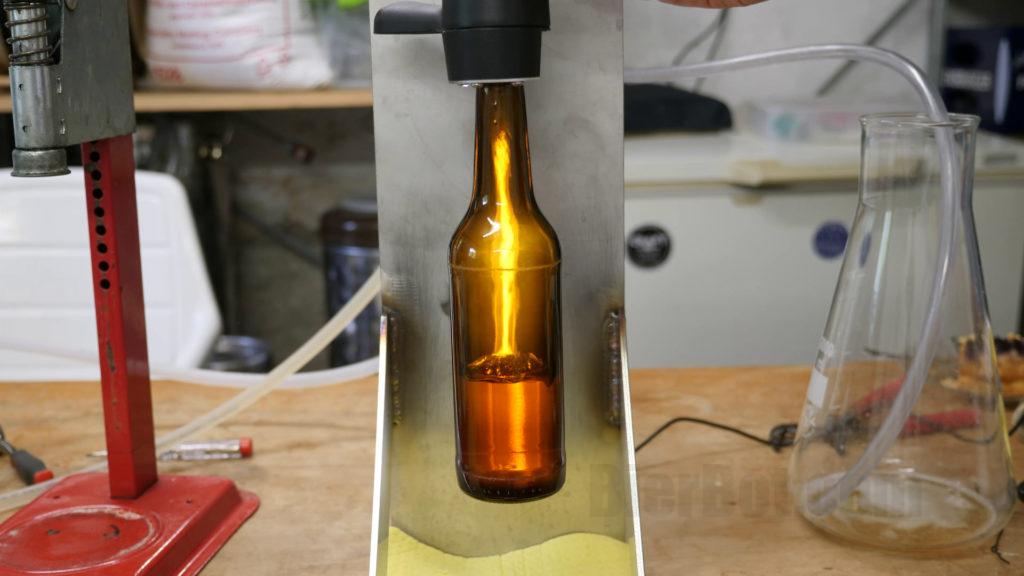
Part of the fun is certainly the creative activity to build your own mount for the iTap X. I wanted to build a stainless steel (no paint job, no rust), LED backlit (so I can always see how full the bottle is), IP68 water resistant (so cleaning can be done by just placing it in sink and shooting water at it) mount.
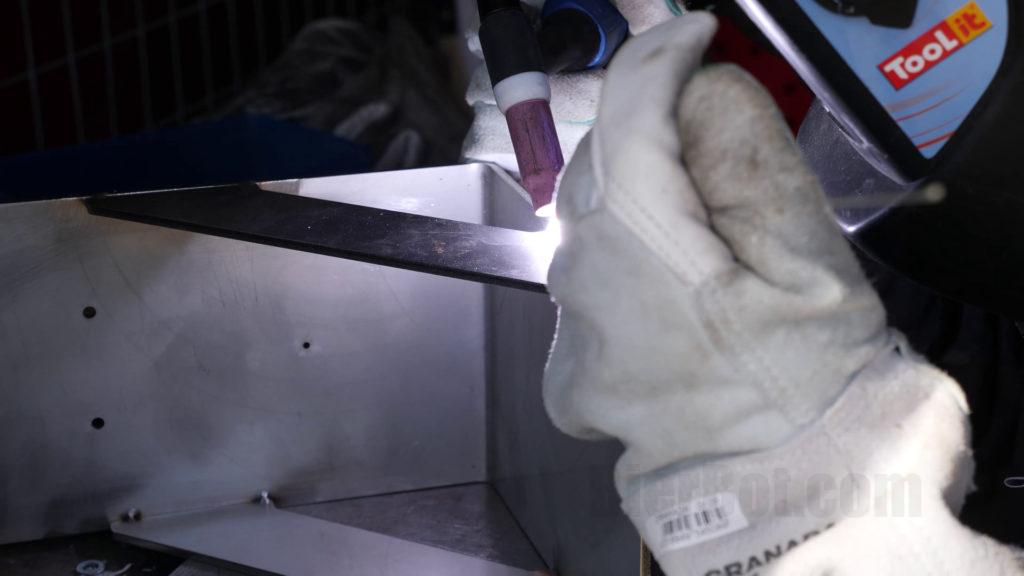
I got all wholes lasercut by a local workshop and only did the welding and electronics myself. The LEDs are housing in a waterproof aluminium frame and controlled by a bluetooth LED driver which allows me to set the brightness of LEDs using an app.
If that sounds interesting to you, CAD files are available here.
The old way (of bottleing beer)…
Before we received this marvelous piece of equipment, we had a DIY beergun-ish solution: It had two knobs/levers one for beer and one for CO2. It also had a valve where you can set the amount of gas / pressure leaving the bottle – but only with a screwdriver.
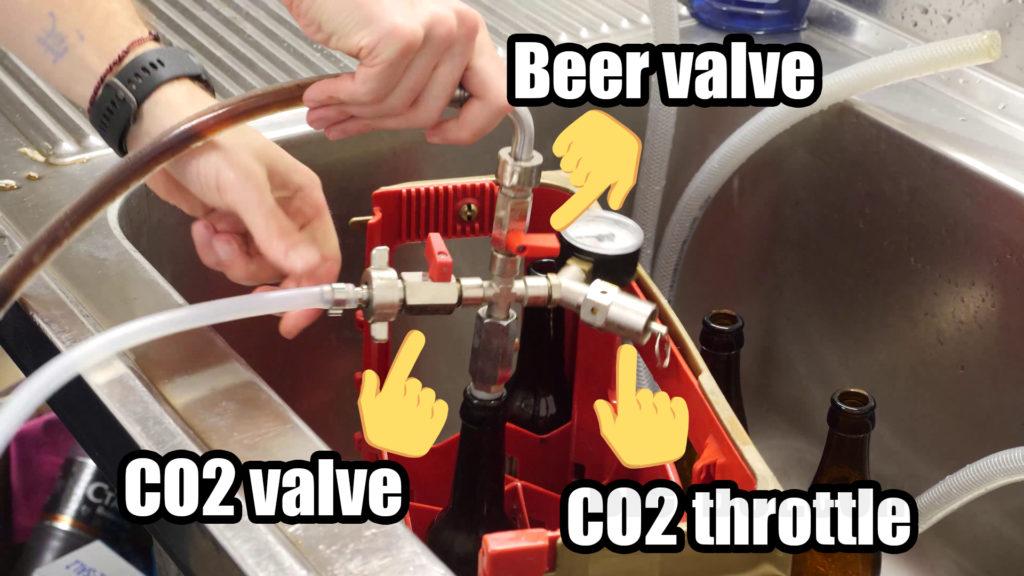
First, you would open the CO2 valve to purge any O2 out of the bottle and pre-pressurize it. Then, after closing the CO2 valve you can open the beer valve until the bottle is full. After that, you close it again.
It had the following issues:
- You have to hold it down at all times.
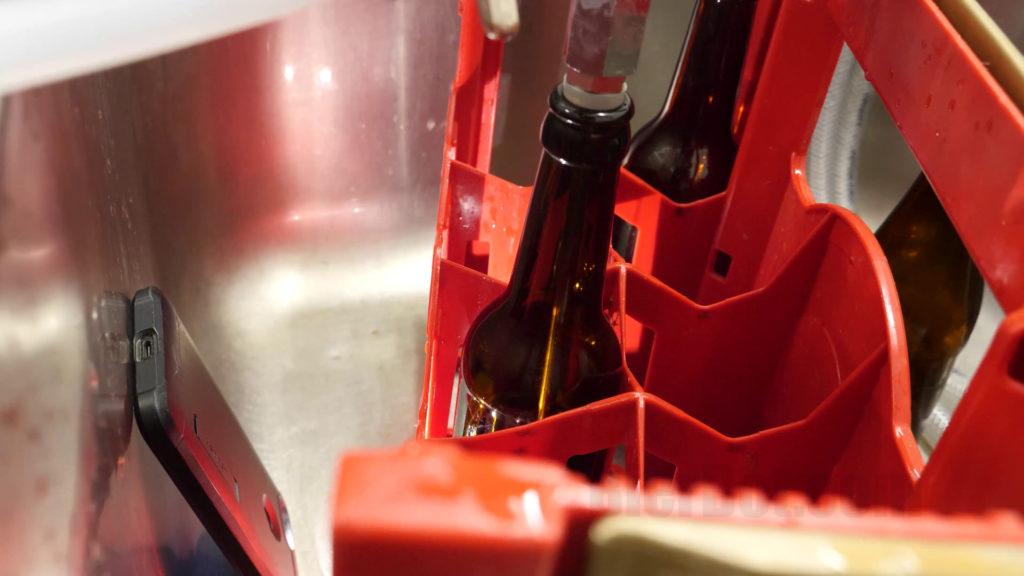
- Bottle was standing. To secure it, we placed it in a crate – but this blocked our view.
- Bottle was illuminated with a smartphone.
- The de-pressurization after bottleling was not smooth but abrupt. This yielded multiple foam explosions – some of them reaching our ceiling.
- No ergonomic grip.
- Throttling was very finicky and imprecise using a screw on the left.
Bottleling
Preparation
Before the first drip of beer flows into a bottle, we need to hook everything up properly and make some adjustments.
- Measure the pressure of your KEG. My pressure gauge / manometer shows 1 Bar for atmospheric pressure. A 3.2Bar reading tells me therefore, that the KEG is sitting at 2.3Bar.
- Connect all lines going to and from the iTap X (CO2, Excess Beer/Foam out and Beer in).
- Place a vessel/ container at the end of the foam / excess beer tube.
- Set your CO2 Pressure slightly (0.1 – 0.2Bar) above KEG pressure.
… from the front 
… from the back
The perfect bottleling process
After connecting all hoes, the process is as follows:
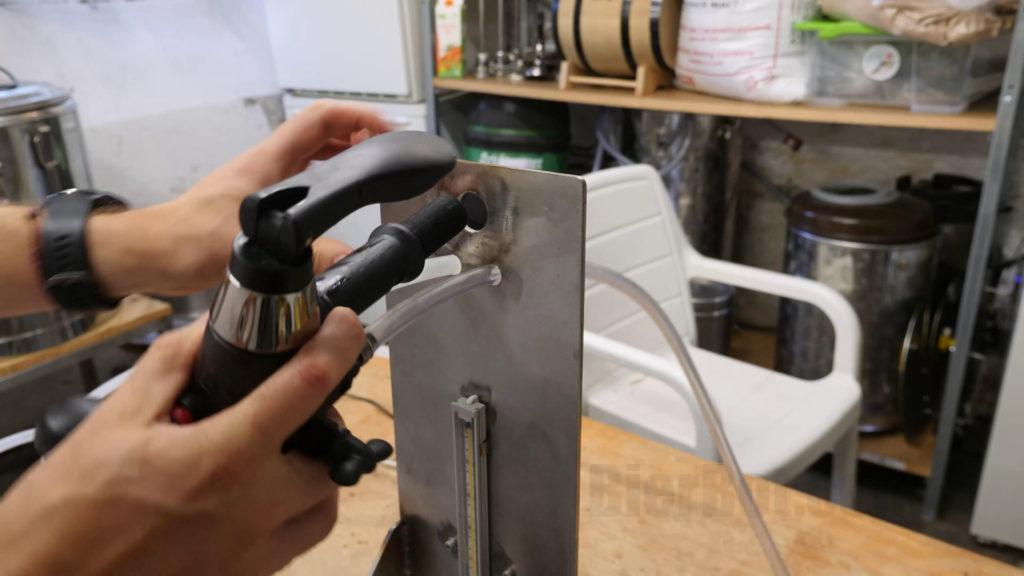
- Tighten the bottle into the iTapX using the spoon (turn clockwise).
- Open the valve on the right side.
- Press the red button in the front to fill the bottle with CO2. Don’t be frugal, remaining Oxygen (O2) in the bottle, will decrease your beers lifespan.
- Tilt the handle on top to fill the bottle with beer.
- Turn the throttle knob on the side to adjust the filling speed.
- After the bottle is filled, turn the top handle back to the upward position.
- Important: Fully open the throttle knob (counterclockwise) the equalize the bottle to atmospheric pressure. This step is often overlooked.
- Close the throttle by turning it clockwise to the end.
- Turn the spoon to release the beer bottle.
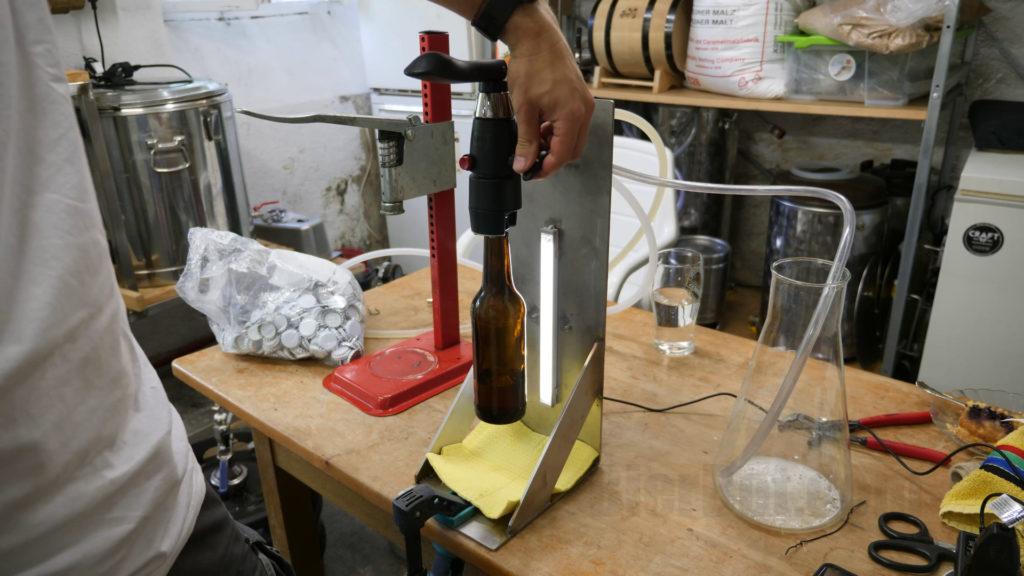
Compatible bottles for iTap X
The included clamp-lock for works long neck bottles and the like. In Germany, the 0.5 EU-bottle is very common. As the upper section of the bottle has the same shape, this works just fine. Boel also offer a whole bunch of other clamp locks to support other types of bottles.

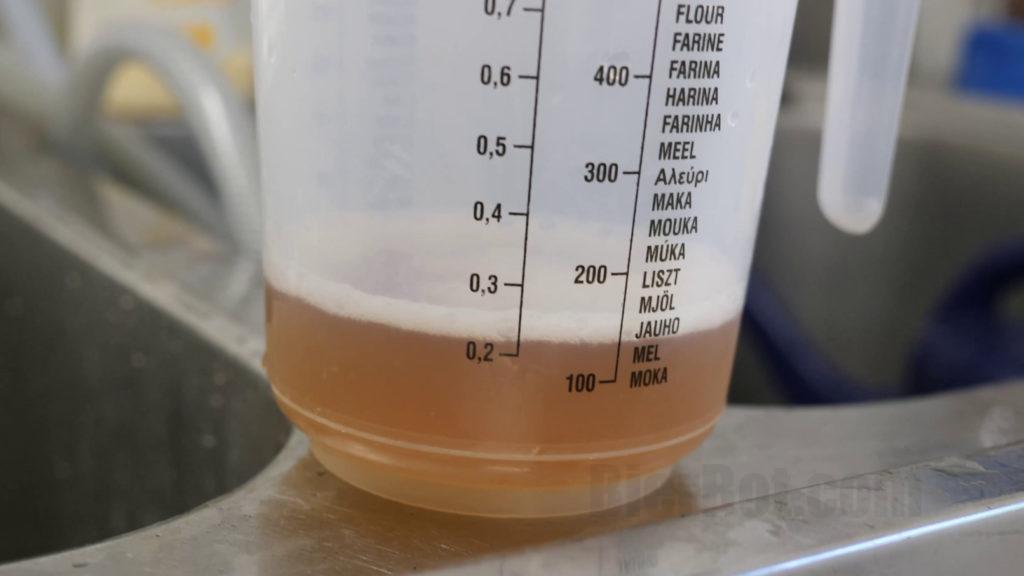
Loss evaluation
One of the marketing claims of the Boel iTapX is to minimize your losses. To achieve minimal losses (aside from using the iTapX) the following thing might be worth to be pointed out: The lower the pressure in the KEG, the easier it is to bottle it. A beer with a given amount of CO2/l is lower pressure when it’s colder.
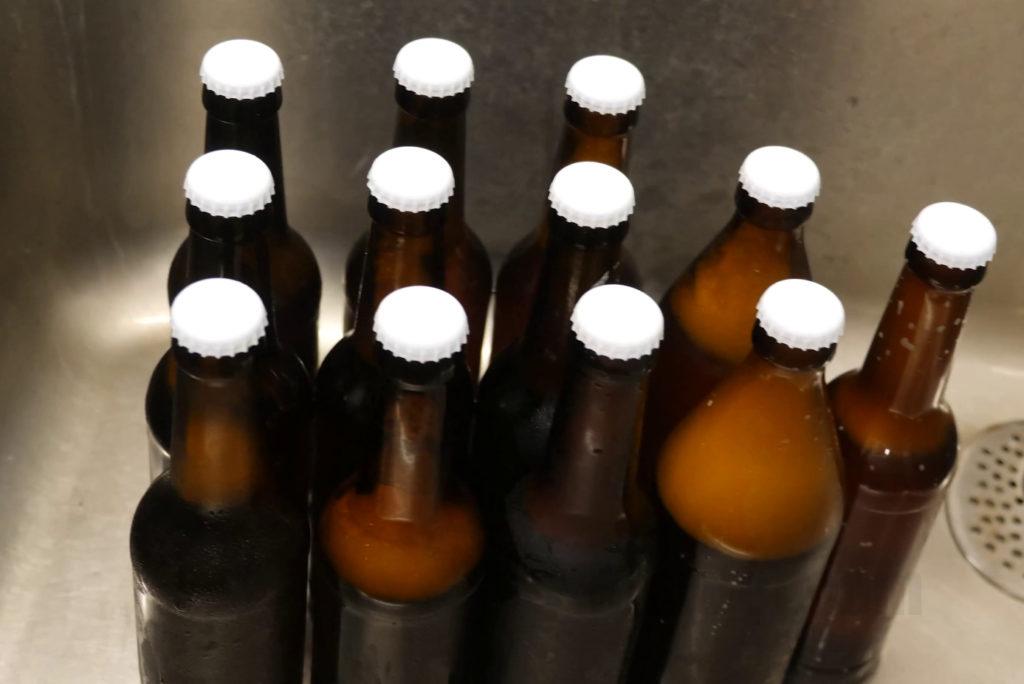
For our experiment we bottled 10*0.3l + 2 * 0.5l = 4l (135.26Oz). The losses with a high pressure beer and low skills on my side totalled to 0.2l (6.76Oz). This equals to losses of 5%.
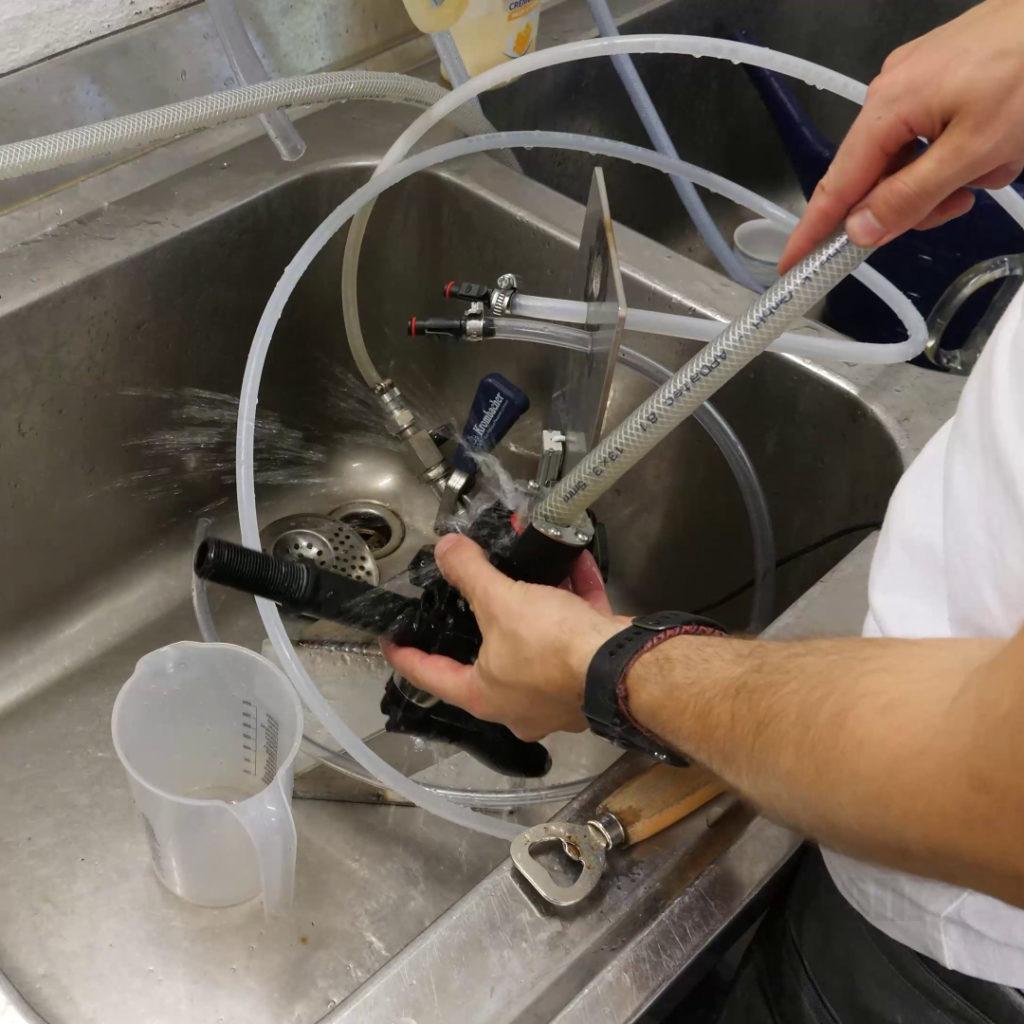
Cleaning
Any brewing equipment review should include cleaning. This is a piece of cake with the iTap X from Boel. The unit is very easy to disassemble (completely). But it’s even easier to to remove some outer parts and give it a little water. I usually just put water through all in- and output connections. Thanks to the IP68 rated mount I can just place everything in the sink!
Summary
Let’s conclude this review of the iTap X by Boel. In general: is a great helper. It really helps to minimize your bottleling losses. If you really mess up, you only loose 5% of your beer (in our case 0.2l of losses for bottleling 4l of beer). Also, the included bottle holder works for all common beer bottles in Germany (i.e., Longneck). The iTap X is really smooth in terms of handling and just joyfull to work with.
One improvements that I love to see in the next iteration: Having to turn the throttle knob all the way back and forth for every bottle is kind of anoying. It would be better to have a three way switch: Closed, throttled (which you can set once using the throttle knob) and open.
Keep reading:
- Review of the TILT hydrometer.
- How to build a brewery control – easiest and cheapest way.
- How to build a brewing control with a Raspberry Pi.
Apppendix
Boel iTapX manual
For your reference, I’ve upload the iTapX manual on English. If any of my advice or usage contradicts the manual: please follow the manual!
Hi. Do you have the cad file available for the bracket?
Hey Steve, sorry for the late reply. Files are now available here: https://bierbot.com/blog/howto/itap-x-stainless-steel-mount-free-cad-files/
Merry XMAS,
Bernhard.
Hi Bernhard,
that’s a really cool holder for the iTap.
Which model of LED did you use?
Kind regards
Markus
Hi Markus,
Can’t remember. Just googled for “water resistant aluminum led profile”.
Cheers,
Bernhard.
Pingback: iTap X stainless steel mount, free CAD files | BierBot | Homebrewing automation